If you are looking for the start of our blog hop, go HERE. The hop ends on 4/29/15.
Flowers, flowers, flowers, I so love thee. Hi it's Ann from the Design Team here at Linnie Blooms and also from the blog: Annmakes. Spring has finally arrived and I look forward to gardening. In the mean time I am making some cards with flowers as my inspiration.
To make this card I coloured the Linnie Blooms Canvas flower with some water colour paints in a "Poppy Red". The canvas takes the paint very well and retained the shimmering of the metallic paint. The stem of the flower was made by sewing the Green Shabby trim (Linnie Blooms) in the zig zag stitch on the sewing machine straight onto the paper, before adhering to the next layers and then to the card.
The centre of the flower was made by hand sewing on a button with some embroidery floss.
The sun and clouds were made from card stock and some steel dies. I also used some dimensional glue dots to give the sun dimension.
The sentiment was stamped on and coloured.
Products used:
Canvas Flower from Linnie Blooms
Shabby Trim in Green from Linnie Blooms
Cardstocks in Blue Glitter, and Brick Fat Plaid from The Robin's Nest
Shimmering Water Colour in "Poppy Red" from Colourarte
Stamp , VS4911 series 7 from Studio G
Ink from Ranger Archival in Jet Black
Dies "Hello Sunshine" from Sizzix
Button from Dollar Tree
Embroidery floss in Black from DMC
To view my other projects and ideas please visit my blog at http://annmakes.blogspot.com.
Thanks for stopping by.
Wednesday, April 29, 2015
Sunday, April 26, 2015
Pin cushion
If you are looking for the start of our blog hop, go HERE. The hop ends on 4/29/15.
Hi, Mayoori here.
Hope you guys had a good weekend. I end up doing lots of cooking for my daughters birthday party .
Since it was Earth week, I recycled ribbon spool and made a pin cushion.
Hi, Mayoori here.
Hope you guys had a good weekend. I end up doing lots of cooking for my daughters birthday party .
Since it was Earth week, I recycled ribbon spool and made a pin cushion.
i used linnie-blooms-bloom-stencil-and-mask to cut the leves from the green felt.
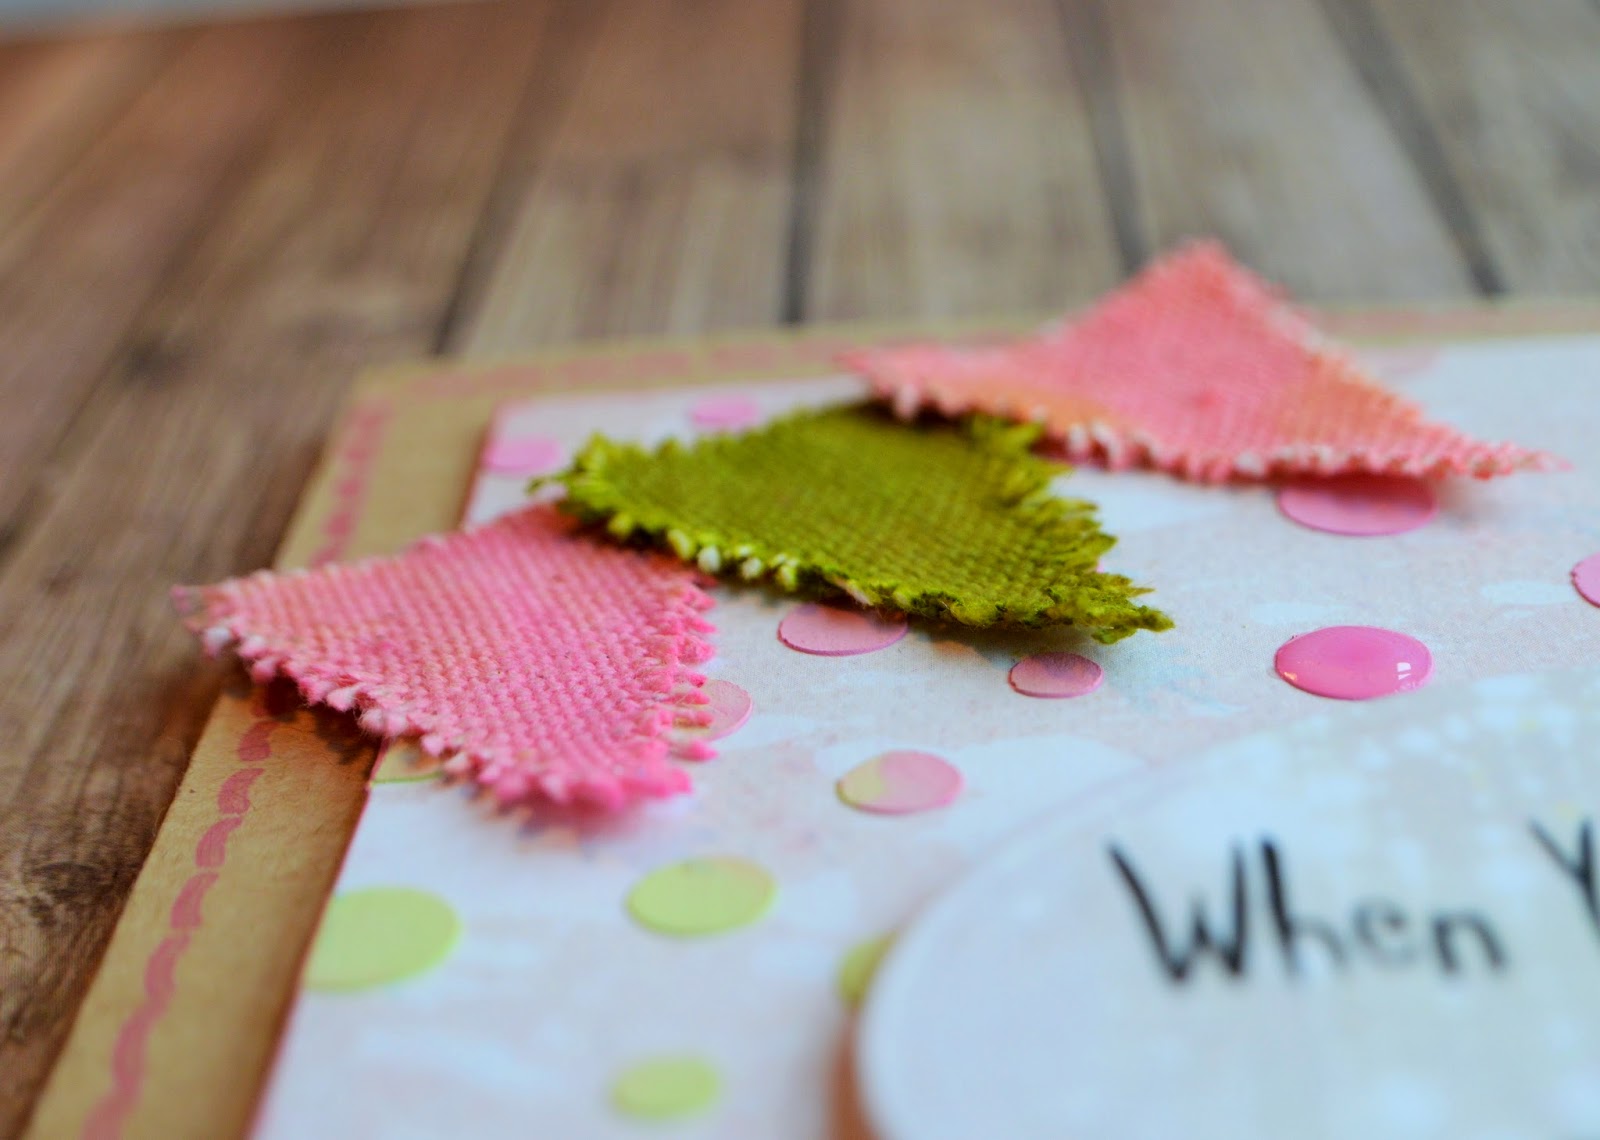
and also used linniebloomscanvas-small-pennants to make spring banner.
I got so engrossed in sewing these little flowers that i forgot to take the step by step pic
.But I promise that .in a day or two ,i will take step by step pics of making this cushioned flowers.
Dont forget to enter in linnieblooms blog hop to win $50 worth products.
Wish you best of luck.
Hope to see you at my blog for the blog hop.
Thanks
Mayoori
Wednesday, April 22, 2015
It's Here! Time for Someone to WIN!
Today's the big day! Visit each of our Design Team Member's personal blogs and checkout what kind of Linnie Blooms inspiration they have going on! Be sure to comment on their posts and you will be entered into our drawing. Every comment will be entered, so feel free to comment on ALL of the posts! On April 30th all comments will be thrown into the hat and a random winner chosen to win $50 in FREE Linnie Blooms product!! Good Luck!
Here's the list of participating designers and their direct links:
Ann Strecko Koeman
Karen Sessions
Gail Green
Noelia Inglesias Gonzolez
Dawn Mattson
Trish Cortez
Back to Linnie Blooms Design Team Blog
Karen Sessions
Gail Green
Noelia Inglesias Gonzolez
Dawn Mattson
Trish Cortez
Back to Linnie Blooms Design Team Blog
Monday, April 20, 2015
Don't Miss It!
A week full of inspiration!! What fun! AND, if you participate you will be entered into our random drawing for $50 in FREE Linnie Blooms product!! That's a LOT of product!!
So, mark your calender, set your phone reminder, do whatever it takes not to miss out!!
Friday, April 17, 2015
Sweet Spring Banner by Dawn
Hi All....Dawn here with another project using Linnie Blooms awesome products.
This is my Sweet Spring Banner...simple and fun to make. I hope you like it.
I used 6 Linnie Blooms pennants, 4 small flowers and 2 butterflies. I painted them with Gelatos...I love the soft colors I get with them.
I stamped the word Spring using pigment ink and then outlined the letters with a PITT marker to make them pop.
I wrinkled the flowers and made sure the edges were shabby...I like that look. Then I doodled around the edges with Diamond Stickles to give it some sparkle and I added buttons to the centers. I dotted the pennants with the Diamond Stickles.
I also outlined and dotted the butterflies with the Diamond Stickles..I tied the centers with dyed ribbons.
I glued all the pieces onto a ribbon leaving about 2 inches between them. Then I tore pieces of a coordinating fabric and tied in between the pennants.
Happy Spring everyone!
Be sure to check out the Linnie Blooms website for all these products and much more and connect with us on the Linnie Blooms Facebook page for lots of cool ideas.
Thanks! Dawn Mattson :)
This is my Sweet Spring Banner...simple and fun to make. I hope you like it.
I used 6 Linnie Blooms pennants, 4 small flowers and 2 butterflies. I painted them with Gelatos...I love the soft colors I get with them.
I stamped the word Spring using pigment ink and then outlined the letters with a PITT marker to make them pop.
I wrinkled the flowers and made sure the edges were shabby...I like that look. Then I doodled around the edges with Diamond Stickles to give it some sparkle and I added buttons to the centers. I dotted the pennants with the Diamond Stickles.
I also outlined and dotted the butterflies with the Diamond Stickles..I tied the centers with dyed ribbons.
I glued all the pieces onto a ribbon leaving about 2 inches between them. Then I tore pieces of a coordinating fabric and tied in between the pennants.
Happy Spring everyone!
Be sure to check out the Linnie Blooms website for all these products and much more and connect with us on the Linnie Blooms Facebook page for lots of cool ideas.
Thanks! Dawn Mattson :)
Thursday, April 16, 2015
"Magic happens" LB Card
Hi !!
Here is Noe with a new project from Linnie Blooms… It´s time for a Card!!
(Hola!! Aquí Noe con un nuevo proyecto para Linnie Blooms… hoy toca tarjeta).
I love Linnie Blooms
products because we may use them whatever project we want: cards, Layouts, mini albums, home décor… even to make our own accessories like bracelets or earrings… and whatever you may think about!!
(Me encantan los productos de Linnie Blooms porque podemos
usarlos en todos los proyectos que queremos: tarjetas, LO, mini álbum, home
decor… incluso para hacernos nuestros propios accesorios como pulseras o
pendientes!! Y todo aquello que se nos ocurra!!)
Here we go!! This is
my Project… I hope you like it!!
(Vamos allá!! Este es mi proyecto… espero que os guste!)
To make it I used this Linnie Blooms Products:
Other products used:
- Cardstock.
- Dimensional paste, inks, gelattos.
- Glossy Accents
- Lace
- Feathers
Step by step:
-
In the first place, let´s go create the background of our card…
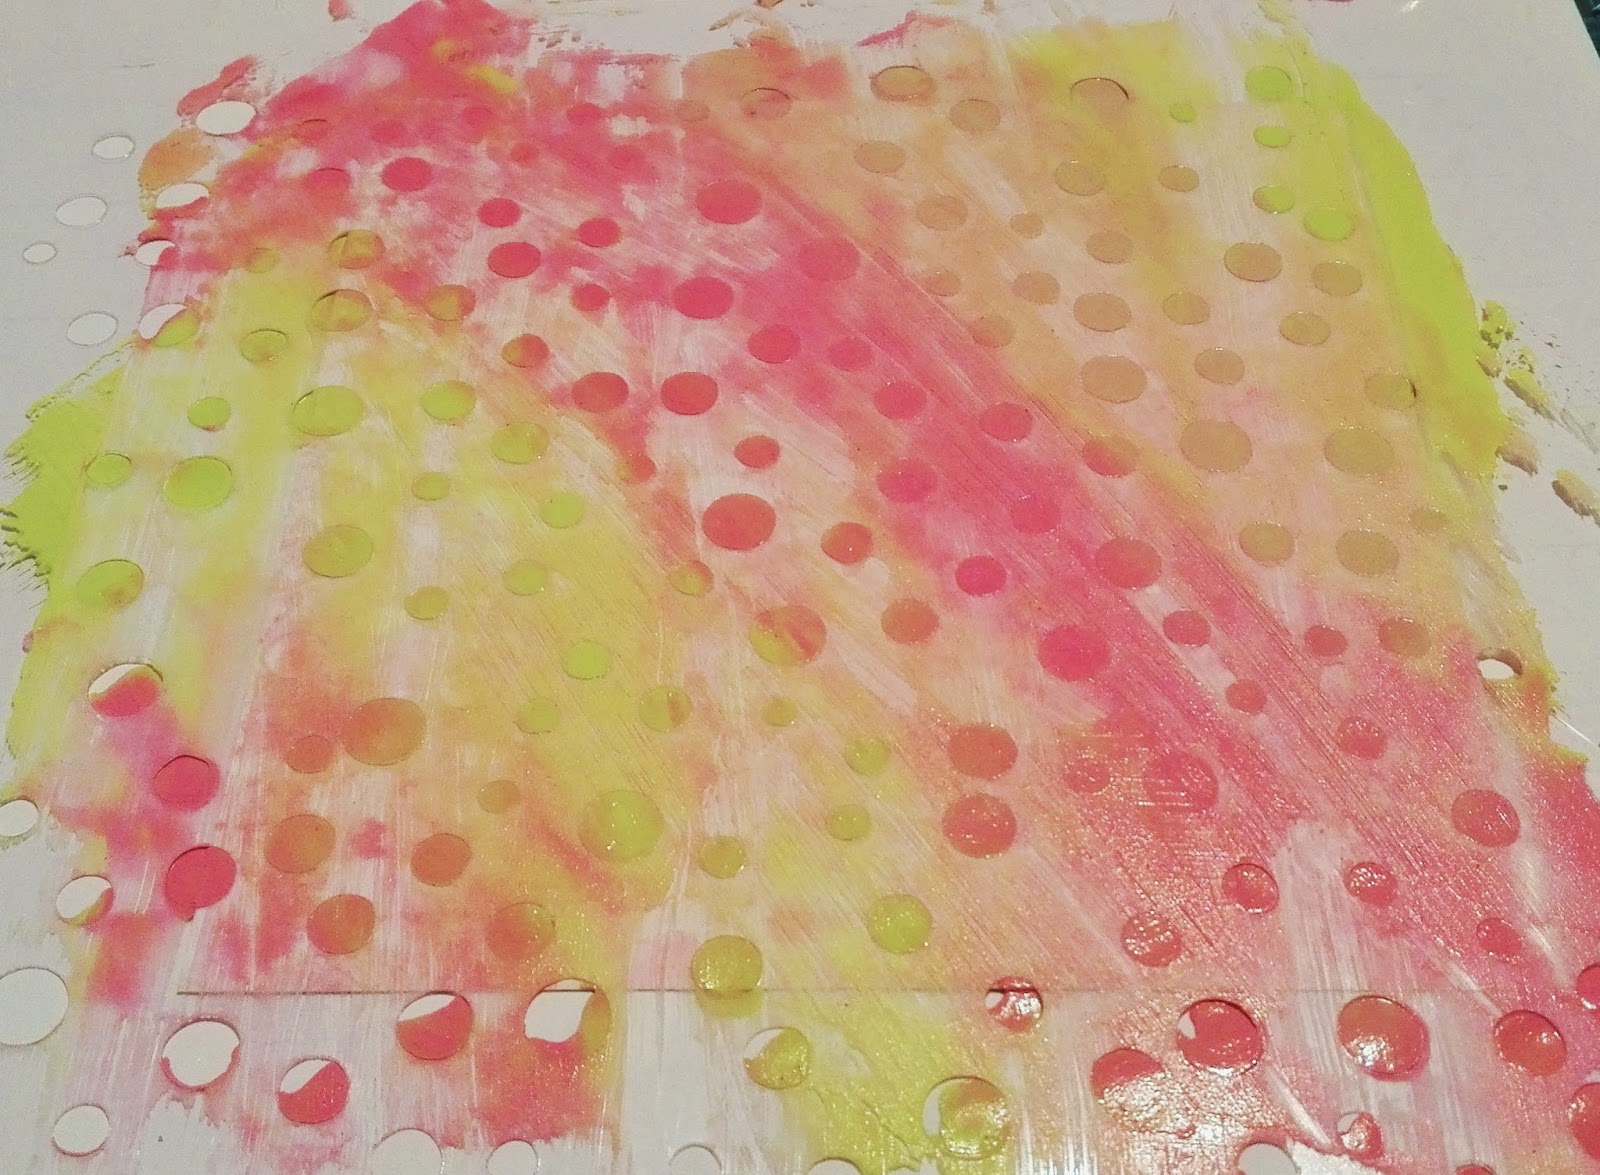
For this we dyed dimensional paste with our ink, in my case, using gelatos and
dylussions sprays.
(En primer lugar, vamos a crear el fondo de
nuestra tarjeta… para ello teñiremos nuestra pasta dimensional con tintas, en
mi caso, usando gelatos y dylussions spray).
-
Place your stencil over cardstock and tape down and spread dimensional paste
over stencil. Remove it and let it dry.
(Colocaremos nuestro stencil sobre una trozo de
cartulina y le aplicaremos cubriendo nuestra pasta dimensional. Retiramos y
dejamos secar).
-
To make de flower we used a piece of lace… using a needle, passing the thread through one of the edges, from one end to another and then we
pull the ends to form flower. We
will use gesso and some ink to dyed it and will stick on it our small canvas petal flower
(painted ussing gelatos). Above all,
sitck some embellishment like button, bead or paper lollipop.
(Para hacer la flor, usaremos un trozo de encaje
y usando una aguja pasaremos el hilo por un de los bordes de un extremo a otro
y luego tiraremos de los extremos para formar la flor. Usaremos gesso y tintas
para teñirla y colocaremos sobre ella nuestra flor de canvas, teñida con
gelatos. Encima de todo colocaremos algún embellecedor como un botón, una
perla, o un acordeón de papel).
-
We also dyed canvas small pennants
using gelatos and place them in an upper corner forming a banner.
(Usando gelatos teñiremos también los banderines
de canvas y los colocaremos en una esquina superior formando una guirnalda).
-
Place sentiment
in the center card and finally check glossy in some details of the background relief.
(Colocaremos el sentimiento en el centro de la
tarjeta y finalmente echaremos glossy en algunos detalles del relieve de
nuestro fondo.).
Work done!! I hope you enjoy so much make this card!!
(Trabajo hecho! Espero que disfrutes mucho haciendo esta
tarjeta).
Hop on over to the Linnie Blooms website to check out all of these great products AND like Linnie Blooms on Facebook for more inspiration!
Have a Great Friday!!
Tuesday, April 14, 2015
FLORAL BLING Bracelet By Gail Green
Accessorize AND celebrate at the same time with Linnie Blooms!
Looking for a great way to make a spring statement? Looking
for a great fashion accessory? Look no
further because Linnie Blooms has you covered!
The Linnie Blooms Canvas Bracelet is a breeze to make …and a definite
conversation stopper. No sewing is required because Linne Blooms has already
added the stitched edges for you!
Using Linnie Blooms stencils, simply sponge with ink,
embellish with dimensional fabric paint and bling with gems and Shabby Chic
trim! It is that easy. This would make a spectacular gift for
Mother’s Day, as well as the perfect Scout, sleepover or birthday craft
project.
Here’s what you will need:
Linnie Blooms Canvas Bracelet
Linnie Blooms Bloom Stencil and Mask
Linnie Blooms Shabby Chic Trim (Green)
Clearsnap® Colorbox® Archival Dye Inkpads (Tree Frog, Coral)
Clearsnap® Color Blender
Beacon Adhesives Gem-tac® Permanent Adhesive
Dimensional fabric paint in colors of your choice
Multi-faceted faceted gems (or decorative beads) in colors,
shapes and sizes of your choice
Here’s what you do:
- Using the Bloom Stencil
and Color Blender, sponge Coral ink inside flower shape. Repeat this step
three times along the bracelet edges, as shown.
- Repeat Step 1 with Tree
Frog ink until all edges have been filled in with shapes. Dry.
- Using dimensional paint, draw green outlines around green leaf shapes and outline coral dots around coral flower shapes. Dry completely.
- Cut two 3” lengths green Shabby Chic trim and tie into small bows. Using Gem-tac® Permanent Adhesive, attach gems (or beads) and bows onto bracelet, as shown. Dry completely.
Subscribe to:
Posts (Atom)