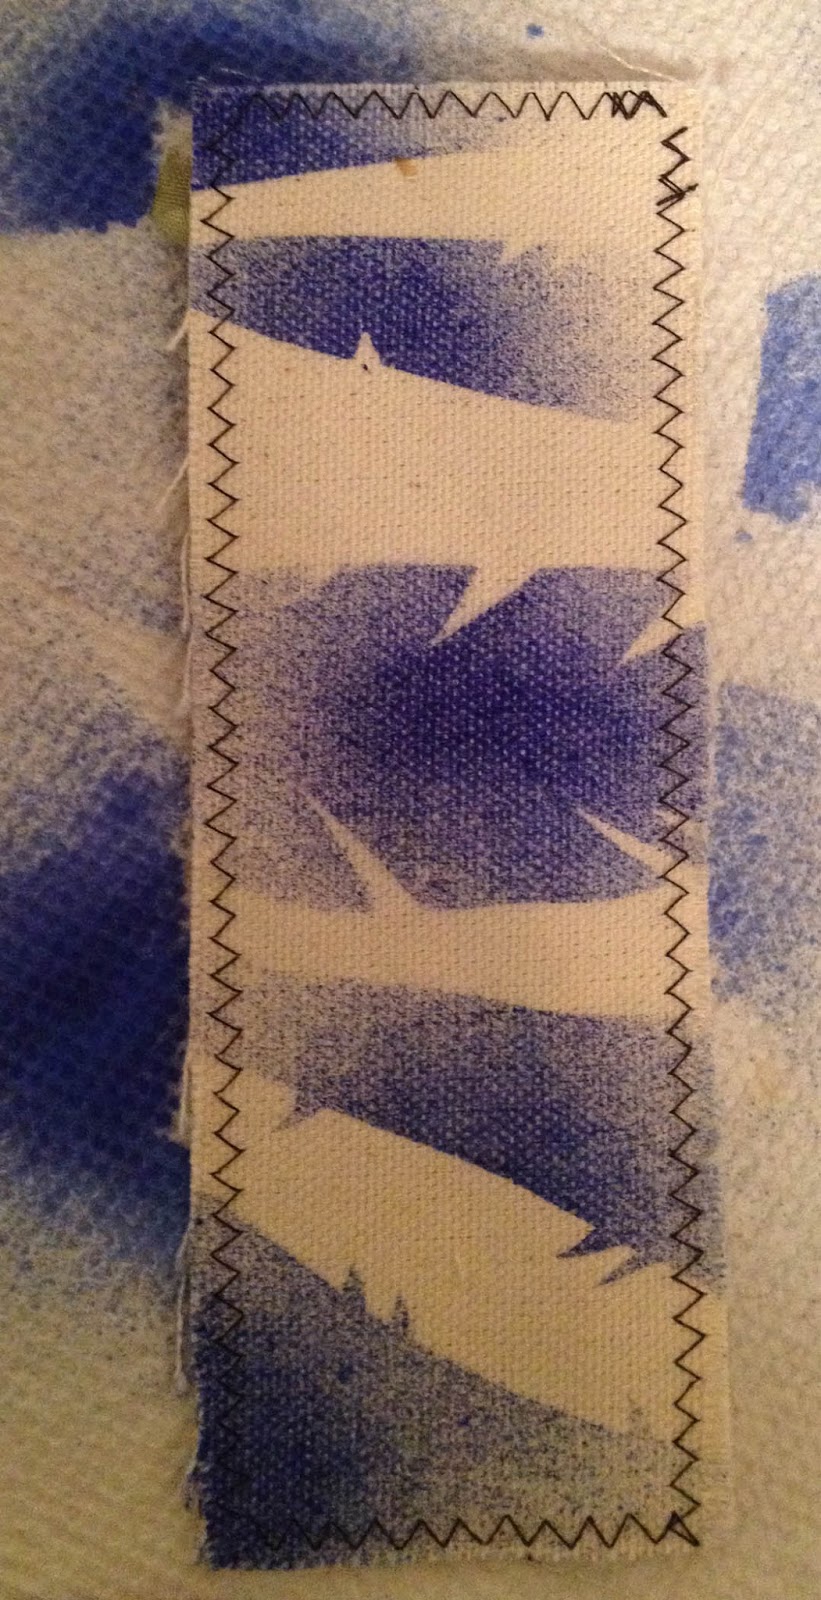
I saw these cute little canvas leaves and was inspired to make some
autumnal themed clothes pins. These autumnal clothes pins can be used
for various decorative purposes. They can be clipped on lampshades /
drapes for a fun home decor accent or used as a table decoration as a
place setting name card holder for your guests. If a magnet is attached
to the back, they can be decorative and functional.

Here's a step by step of
how I did it.
Directions:
1. Prepare to Paint: Protect your work surface & wear gloves.
Place the canvas leaves on your craft matte or newspaper. Mist the
leaves with 3-4 autumnal colors. With your finger, blend the colors
together so they absorb into the weave of the fabric. I worked with all
paint colors simultaneously. Remember to color the back side of each
leaf as well. Set aside to dry.
2. Color Clothes Pins: Attach washi tape to both sides of each wooden clothes pin. Carefully trim away excess tape with scissors and firmly press all edges securely.
3. Assemble Bows: Cut a strip of fabric about 1.25in x 4inches in
length. Find the center of the fabric strip. Pinch and twist one side of the
fabric to the back and use a piece of wire to cinch the center of the
bow twisting the wire to secure it. Trim the ends of the fabric if
needed. Tie a small bow using jute or baker's twine.
4. Detail the Leaves: When the leaves are thoroughly dry, take each leaf
and fold it in half to the stem pressing firmly with your fingers. The
stiffened canvas will hold the gentle crease and the fold will appear
to be the vein of the leaf giving it a more realistic appearance.
5. Embellish Clothes Pins: Use a hot glue gun to attach the fabric bow
to the end of the wooden clothes pin. Next, glue a leaf in the center
of the fabric bow. Finally, glue a twine bow on the leaf and embellish
it with a button.
Linnie Blooms Supplies: canvas leaves, wooden clothes pins
Other Supplies: Moon Glow's Glimmer Spray, twine, buttons, washi tape, fabric, wire, glue gun
Browse the Linnie Blooms Shop: HERE
A Closer Look:
TIP: Since I have accumulated many sprays and mists, I make a
sample card for each color by spraying a mini tag and attaching it to a
jump ring. Then, I can refer to the tags to help me quickly select the right colors for my project. To help me find the bottle on the shelf, I write the brand & color on the back of the tag.
Visit
Art & Soul to see more of Karen's brilliant projects.