Showing posts with label Cards. Show all posts

Wednesday, August 12, 2015

Sympathy Cards

For the most difficult times, a handmade card sends much needed comfort.

Directions:
1. Begin to make the background by holding the feather mask firmly in place while gently sponging ink around the edge. Carefully remove the mask, reposition it, and continue sponging. Continue to add more feathers making sure to vary the direction & size of the feather. Also, be sure to place some feathers going off the edge of the paper.

2. Next, make the focal point feather by using the stencil and a darker color ink. Place the stencil down and while holding firmly, sponge the center. To add a bit of shading, use a darker shade of ink around the edge of the stencil and blend it by drawing the sponge towards the center of the feather.

3. Next, add a border strip of embossed feathers. Use a glitter gel pen to add a subtle sparkle to highlight parts of the embossed image. Then add a sentiment of condolence.

4. Finally, stamp a delicate flourish pattern over the canvas feather and add a hint of color by sponging ink along the edge. Lastly, use the stencil to cut a paper feather and embellish the card by forming a cluster using a combination of a real feather, vellum feather, or paper feather.

A Closer Look:


Linnie Blooms Supplies: feather stencil and mask, canvas feather
Other Supplies: pigment ink (Brilliance -Pearlescent Lavender, Purple, Sky Blue, Platinum Planet) (VersaColor - Polar Blue) (Studio G -lilac, rose, acua), condolences sentiment rubber stamp (PSX F-2562), Flourish Background cling stamp (Hero Arts), feather stamp, feather embossing folder (Darice), vellum, sponge applicator, feather, Stardust Glitter Gel Pen (Sakura)
Linnie Blooms
Visit Karen at Art & Soul

Saturday, August 23, 2014

A girlish birthday card in blue

Since one of my doughters best friends turned 5 yo the other day I made this card with a Linnie Blooms Canvas Star as decoration.


Marie

Thursday, July 17, 2014

Patriotic Challenge

This month at Linnie Blooms we were challenged to be patriotic in our designs.
My card features a quaint little house and a sweet little flag in red, white and blue.
 I love our country and count my blessings daily for my home, my friends and family...
and of course my creative family as well!
Thanks for stopping in today.


Linnie Blooms Supply List:

Wednesday, June 18, 2014

Lite my Fire

Happy Wednesday!
During June we have been an Outdoor Fun challenge.
I'm sure at first glance you can guess where I am headed with my sassy card.
We have lots of bonfires at my house all summer long.
...and....Marshmallows are a MUST.
I think my husband will get a kick out of this one because he is 
always the fire starter.

I used a Linnie Blooms shapes card kit for the base and
a Linnie Blooms canvas pennant shape to accent the "you" on my sentiment.
I just added some yellow acrylic paint and doodling to make it unique.
You will never run out of options with these pieces. 
Now don't forget that you can share your designs on the 
Linnie Blooms Facebook page for a chance to be the Pick of the Week...
we'd love it if you did!

Have a wonderful day.

Friday, June 6, 2014

My Sunny Friend

Hello!
Donna K here to share a card I created 
for a special "sunny" friend.
I was aiming toward a sun/floral direction when I created
the corner piece.  I used Linnie Blooms Card Kit and 
die cut pennant canvas pieces from the shapes set
to create the rays/petals.
I really love the layers and thickness of mixed media cards.
They make such a statement, don't you agree?
You can find these products and much more
Thanks for stopping by today.
I hope your day is really, really SUNNY!


Tuesday, February 11, 2014

Create one from the heart and two for fun

I'm creating Valentines big and small with my Linnie Blooms canvas shapes today. I have not ventured my mixed media onto canvas before, so I started with an 8"x 8" size so I wouldn't feel too overwhelmed. I knew that I wanted my embellishments and textures (along with the quote) to be my focus, so I wanted a more subtle background.

 
I spritzed some Distress Stain (worn lipstick) with water and just splattered, brushed, and dripped it onto the canvas and then let it dry overnight so that the splotches and bubbles dried just as they were when wet. I wrapped the canvas with some metallic yarn and added the sentiment with a Sharpie marker.

I used Copic markers to color the house/arrow and heart.
I stamped (with gray ink) the background of the canvas with some Close to My Heart stitched hearts, wrote my sentiment (wherever you go-go with all your HEART), and then layered, layered, layered. You can spy some punches, button, stamps, burlap, tulle, twine, stickers, and a bingo card.
One Valentine present done.

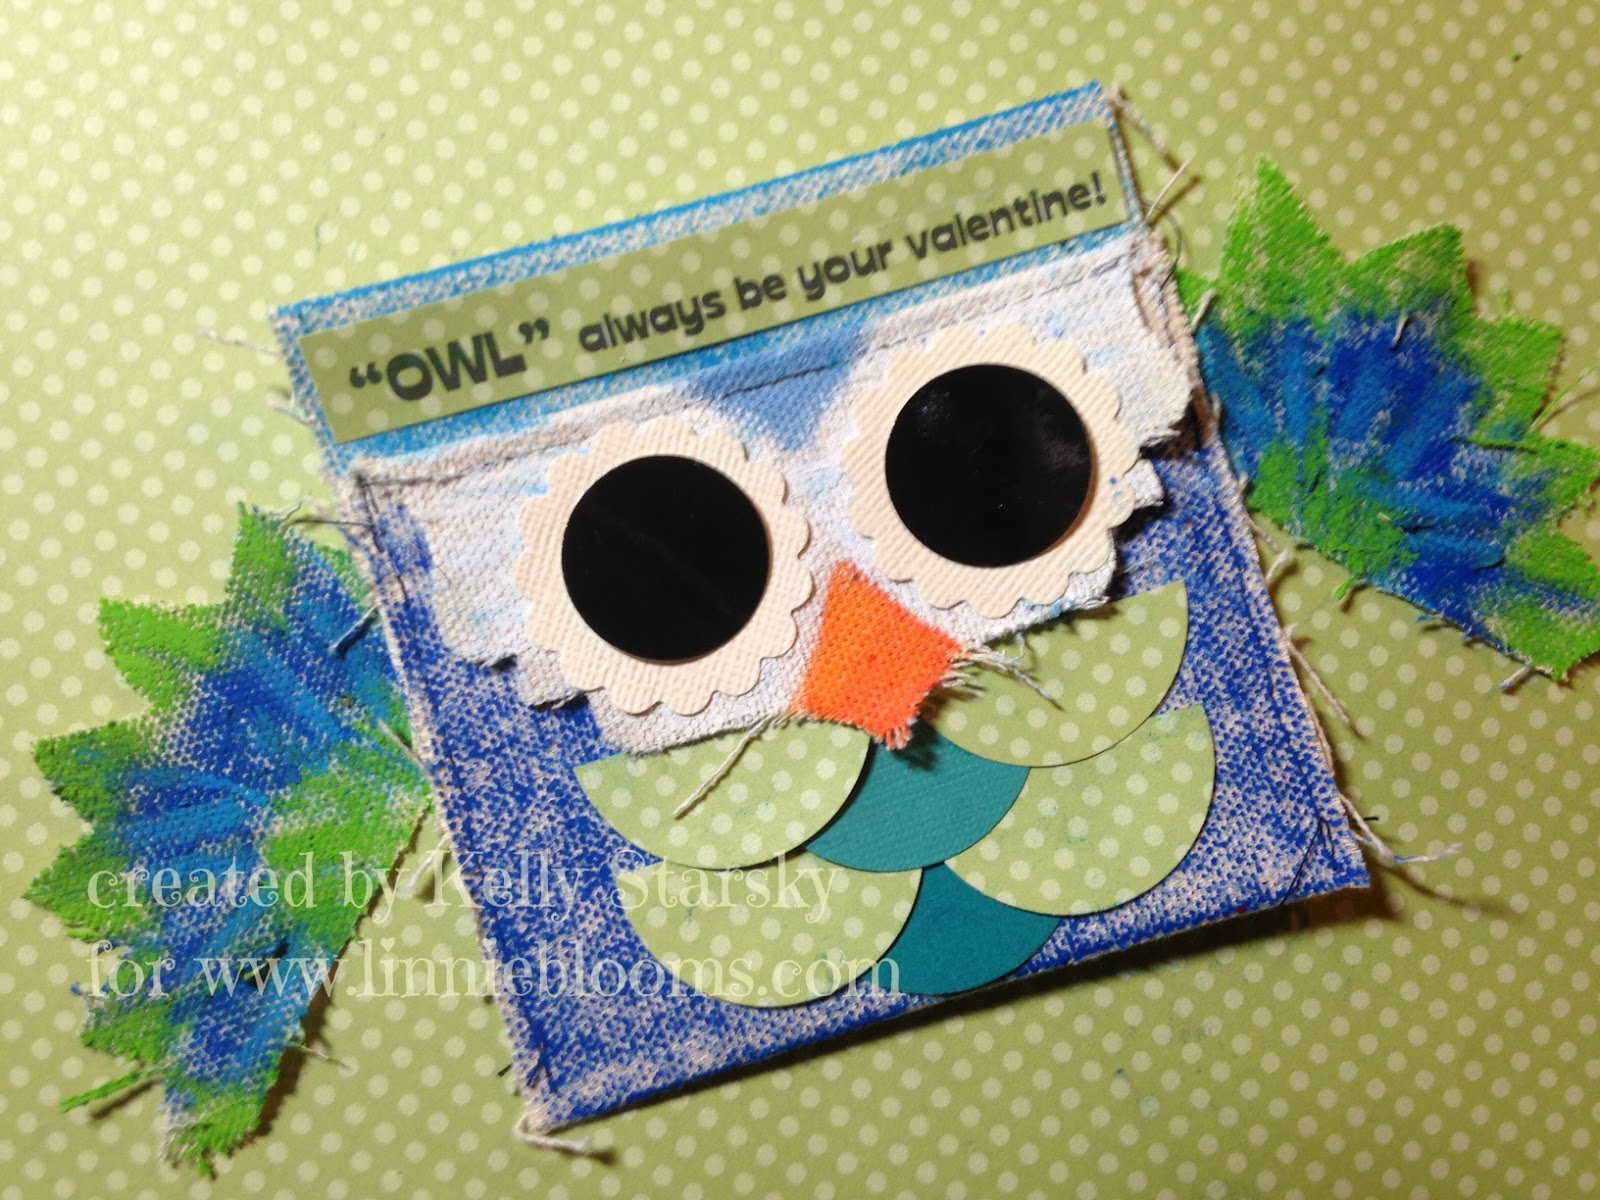
When I looked at my Linnie Blooms canvas pocket one day, for some reason I saw a beak. So this became...


THIS! (with the help of my daughter).


With oil pastels, she colored the pocket and I colored the wings (a Linnie Blooms canvas sunflower cut in half). We added some eyes and some punched half circles for layered feathers and she is going to stick a small treat in here for her teacher. WHOOOOOO wouldn't want to get this cute owl?

And one last Valentine--a silly one! Using up patterned scraps with these painted Linnie Blooms canvas hearts and LOTS of googly eyes--inside the card it says "EYE" love you lots!
Three Valentines done (more to do). Whether your Valentines are layered, from the heart, cute, or silly...they are OH so special when they are hand-made.
~Kelly


Monday, November 4, 2013

Thankful

The changing of the season, the cool breezes and the falling of such beautiful leaves, also brings the planning of the holiday season. Time to plan for holiday gatherings with family, menus and long awaited visits from dear friends and family. This always brings me to think of all of my blessings and, all that I'm grateful for. Which brings me to the Thanksgiving tag book I created.


I also created a quick Christmas card using the canvas evergreen tree.


Here's a video describing what I created. **I apologize for the video being split I can't begin to explain what happened the reason I had to split it** I hope you enjoy.


Canvas leaves and tree used:
IMG_0559.JPGIMG_0552.JPG


I hope this has inspired you to create your own Thanksgiving mini. It's always great to get your kids and even other family members involved in expressing what they are thankful for. Plus you are creating memories that can be passed on from generation to generations.

Have a wonderful week!

Friday, October 25, 2013

When a simple thank you won't do...


Sometimes, a simple "thank you" isn't enough.
Sometimes, a paper "thank you" isn't enough.
Sometimes, any kind of "thank you" isn't enough, but something will have to do.
This is one of those times.


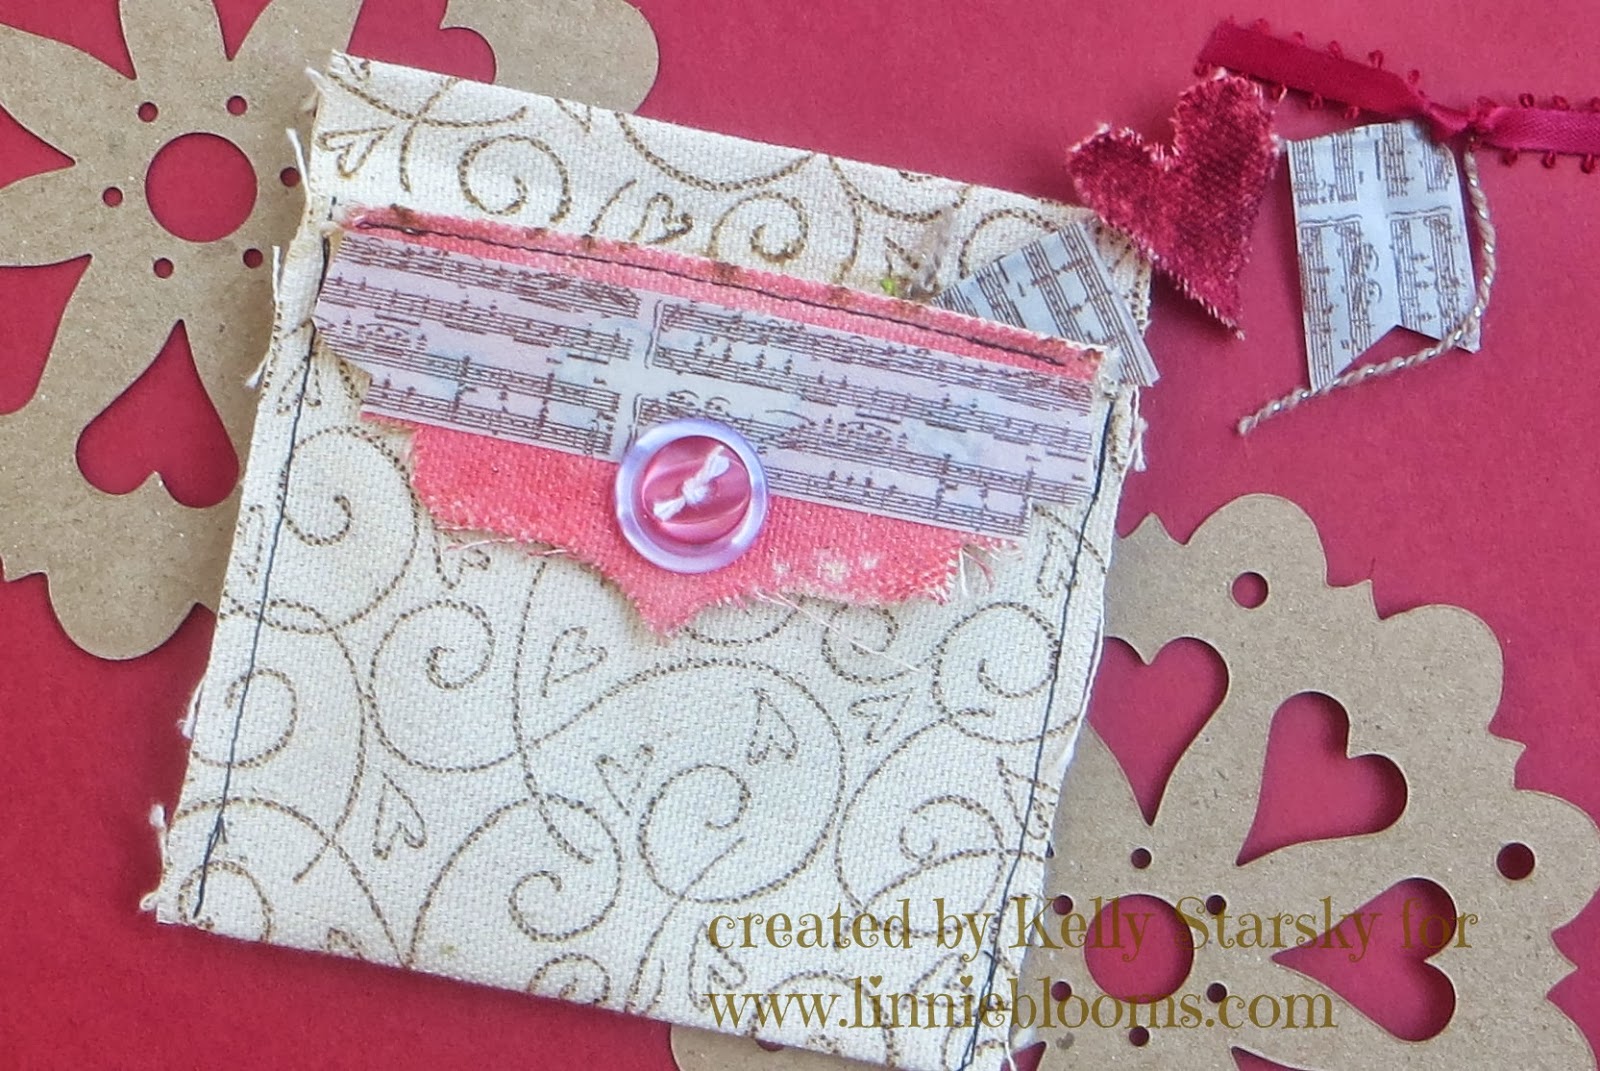
I'm playing with Linnie Blooms shapes again, and this time it is the new canvas pocket (available soon). It's the perfect size for a gift card or...


a pull-out message.

I stamped the pocket with Distress Inks (I love that they don't bleed on the canvas) and then added some Distress Stain color on the flap along with some washi tape and some buttons. Inside, I used more Linnie Blooms shapes (pockets, pennants, and hearts) to make a mini banner. I used acrylic paint, Copic markers, and more Distress Stains along with more washi tape to complete the banner.

Wondering how I got those letters on there? I laid down some alpha stickers and painted right over them. When the paint was dry, I lifted the stickers off and a perfect stencil remained (no seepage).


It may be small on size but it represents a BIG, heart-felt thank you for a dear friend (hope she's not reading this before I send it to her).


And, it's the gift that keeps on giving because it can be passed on and on and on to new recipients.

Spread the love.


~Kelly


Tuesday, September 17, 2013

Thinking of You

Hi there friends!  It's Kisha here again sharing another crafty project.  Today, I've created a thinking of you card using Linnie Blooms canvas butterfly.  For this project, I chose to work a little different with my canvas piece.  I actually chose to not create using multi-mediums and distressing.  Though, I kept it fairly simple, I hope you like the the technique I used to ad a bit of shabby to the butterfly.


You can follow this link to take a peek of my YouTube video - http://youtu.be/zhlBZKCRwjI or click below


This was such a quick card to complete, which is great when you suddenly need a simple yet meaningful sentiment.


The canvas butterfly I used on my card can be found here.  Also, there are so many great items and NEW items in the shop.  Take a hop over to see what's new in the shop and get crafty with us!

Have a super great week!

Kisha