Thursday, April 16, 2015

"Magic happens" LB Card

Hi !!

Here is Noe with a new project from Linnie Blooms… It´s time for a Card!!

(Hola!! Aquí Noe con un nuevo proyecto para Linnie Blooms… hoy toca tarjeta).

I love Linnie Blooms products because we  may use them whatever project we want: cards, Layouts, mini albums, home décor… even to make our own accessories like bracelets or earrings… and whatever you may think about!!

(Me encantan los productos de Linnie Blooms porque podemos usarlos en todos los proyectos que queremos: tarjetas, LO, mini álbum, home decor… incluso para hacernos nuestros propios accesorios como pulseras o pendientes!! Y todo aquello que se nos ocurra!!)

Here  we go!! This is my Project… I hope you like it!!
(Vamos allá!! Este es mi proyecto… espero que os guste!)


To make it I used this Linnie Blooms Products:


Other products used:

- Cardstock.
- Dimensional paste, inks, gelattos.
- Glossy Accents
- Lace
- Feathers

Step by step:

-          In the first place, let´s go create the background of our card… For this we dyed dimensional paste with our ink, in my case, using gelatos and dylussions sprays.
(En primer lugar, vamos a crear el fondo de nuestra tarjeta… para ello teñiremos nuestra pasta dimensional con tintas, en mi caso, usando gelatos y dylussions spray).
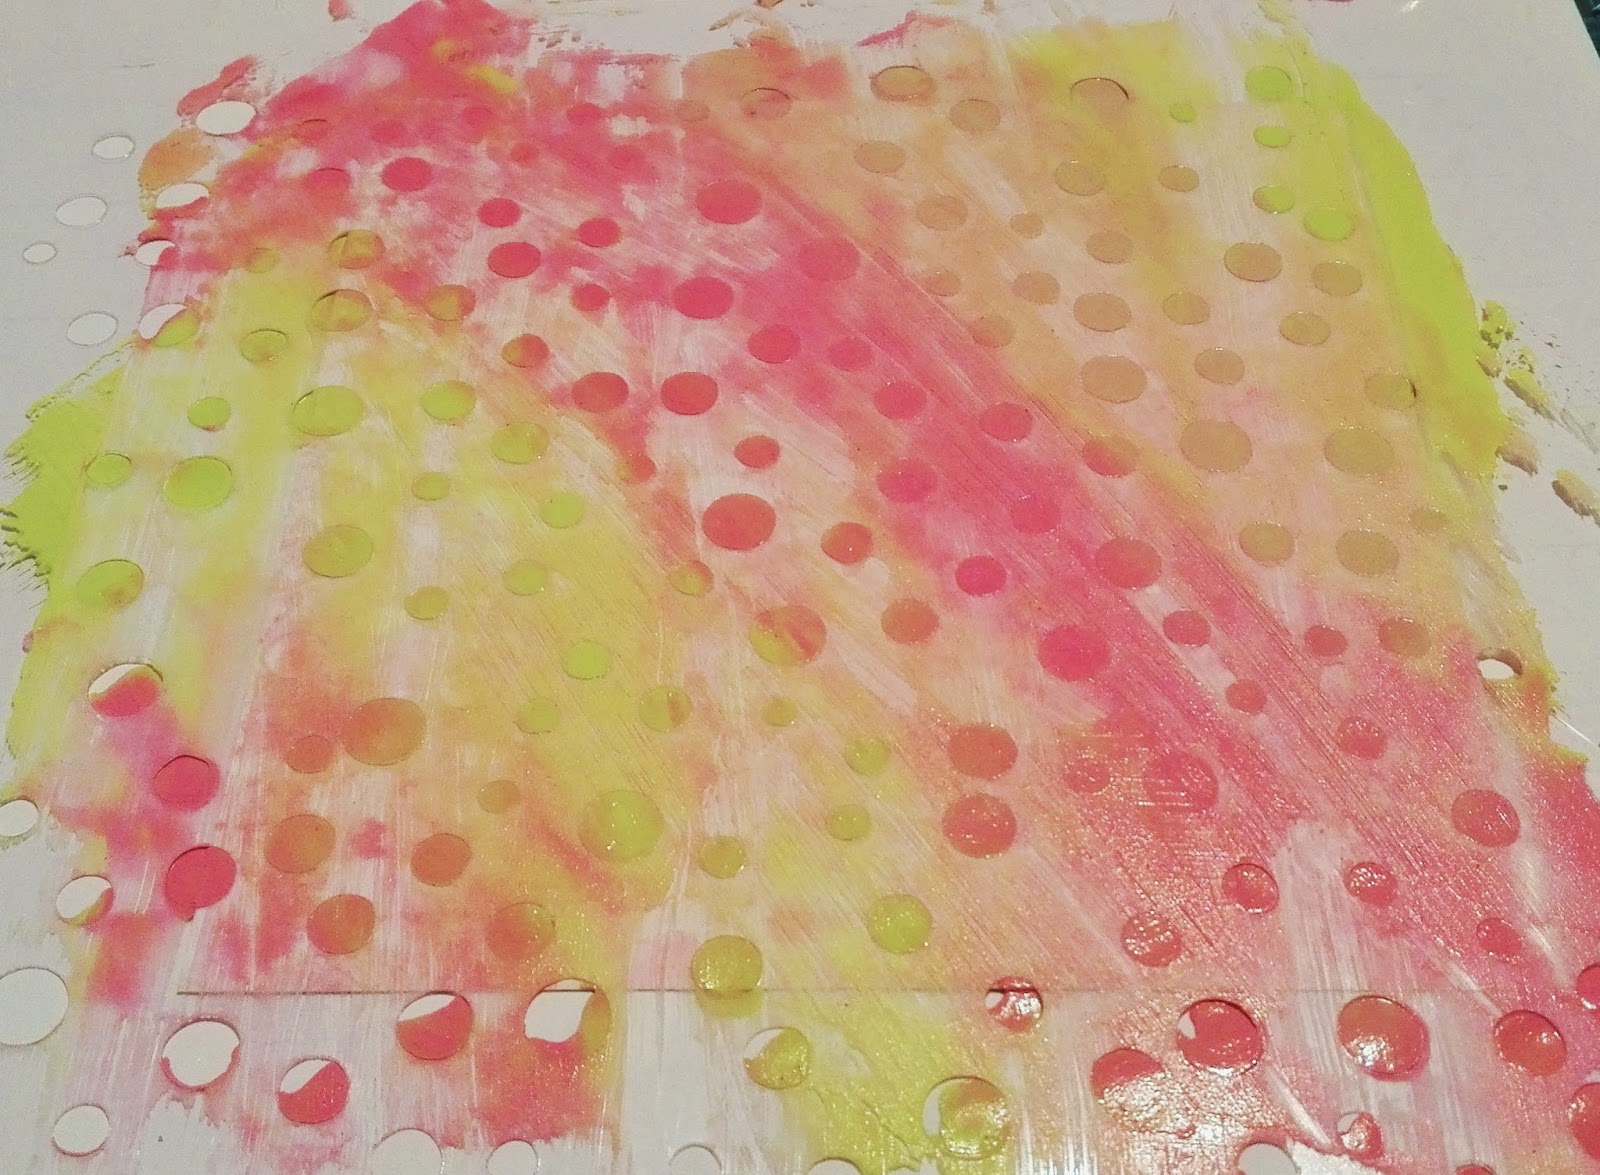

-          Place your stencil over cardstock  and tape down and spread dimensional paste over stencil. Remove it and let it dry.
(Colocaremos nuestro stencil sobre una trozo de cartulina y le aplicaremos cubriendo nuestra pasta dimensional. Retiramos y dejamos secar).


-          To make de flower we used a piece of lace… using a needle, passing the thread through one of the edges, from one end to another and then we pull the ends to form flower. We will use gesso and some ink to dyed it  and will stick on it our small canvas petal flower (painted ussing gelatos).  Above all, sitck some embellishment like button, bead or paper lollipop.
(Para hacer la flor, usaremos un trozo de encaje y usando una aguja pasaremos el hilo por un de los bordes de un extremo a otro y luego tiraremos de los extremos para formar la flor. Usaremos gesso y tintas para teñirla y colocaremos sobre ella nuestra flor de canvas, teñida con gelatos. Encima de todo colocaremos algún embellecedor como un botón, una perla, o un acordeón de papel).


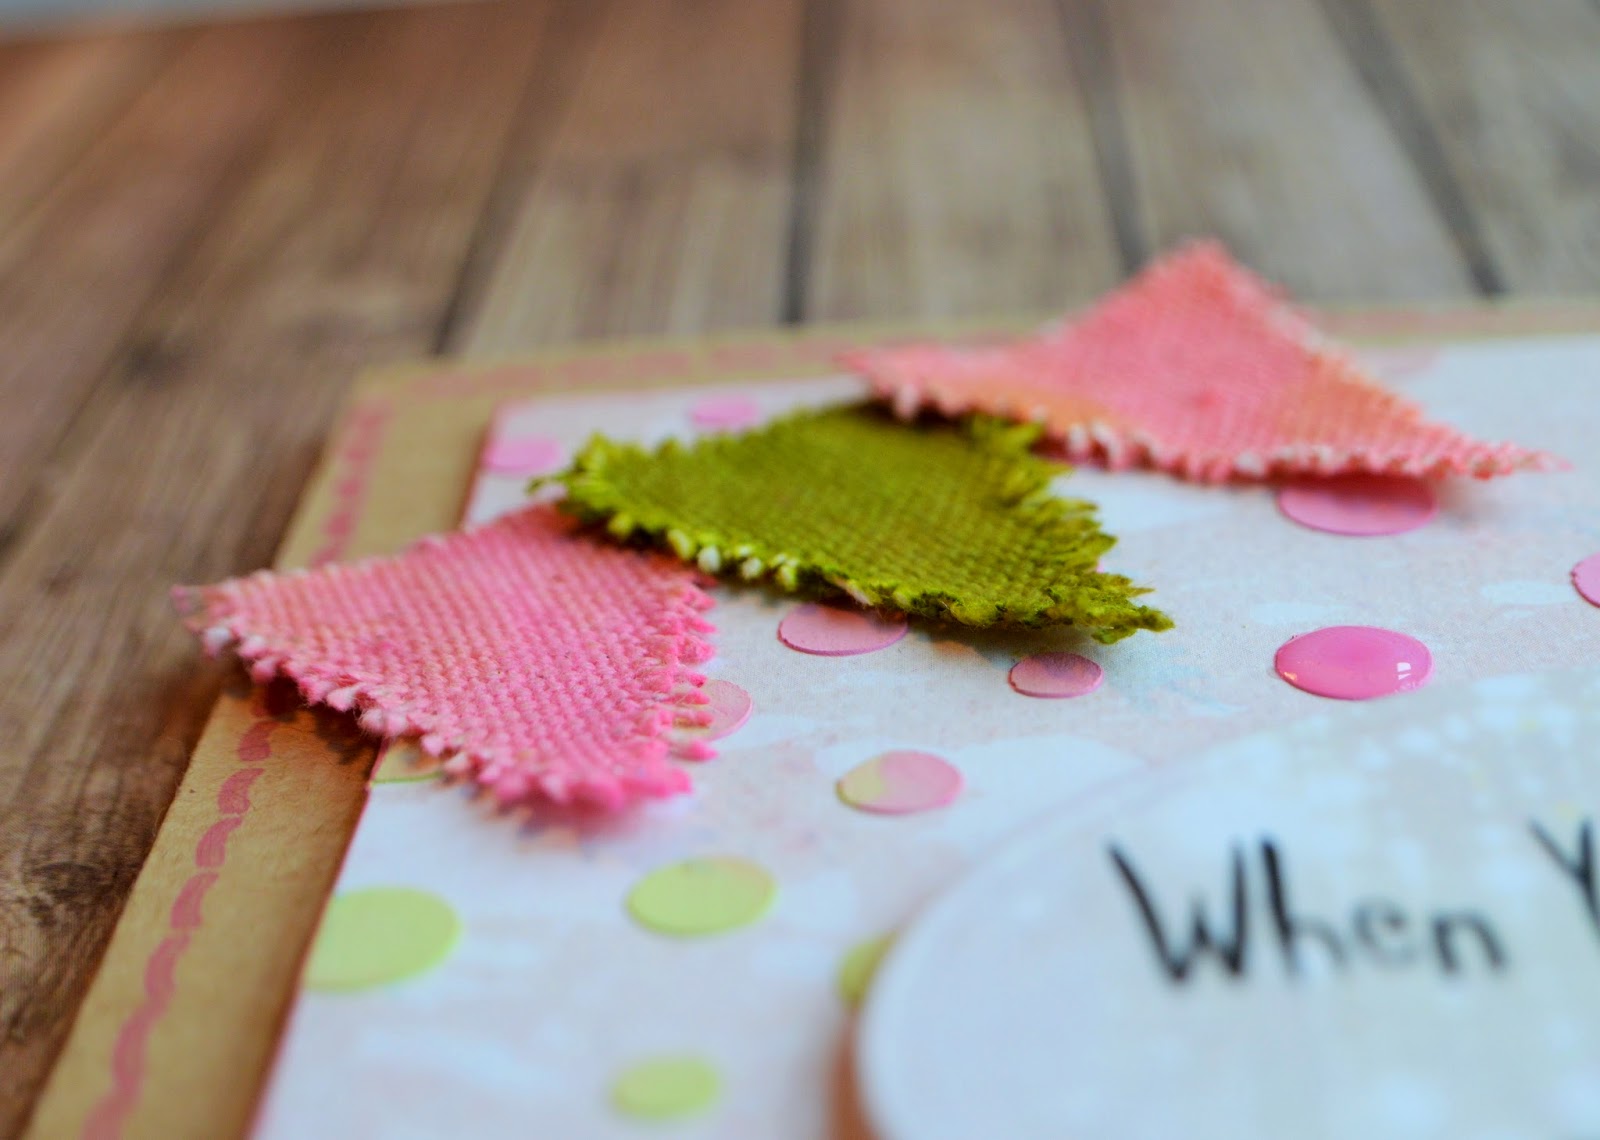
-          We also dyed canvas small pennants  using gelatos and place them in an upper corner forming a banner.
(Usando gelatos teñiremos también los banderines de canvas y los colocaremos en una esquina superior formando una guirnalda).


-          Place sentiment in the center card and finally check glossy in some details of the background relief.
(Colocaremos el sentimiento en el centro de la tarjeta y finalmente echaremos glossy en algunos detalles del relieve de nuestro fondo.).


Work done!! I hope you enjoy so much make this card!!

(Trabajo hecho! Espero que disfrutes mucho haciendo esta tarjeta).

Hop on over to the Linnie Blooms  website to check out all of these great products AND like Linnie Blooms on Facebook for more inspiration!

Have a Great Friday!!

Tuesday, April 14, 2015

FLORAL BLING Bracelet By Gail Green

Accessorize AND celebrate at the same time with Linnie Blooms!


Looking for a great way to make a spring statement? Looking for a great fashion accessory?  Look no further because Linnie Blooms has you covered!  The Linnie Blooms Canvas Bracelet is a breeze to make …and a definite conversation stopper. No sewing is required because Linne Blooms has already added the stitched edges for you!

Using Linnie Blooms stencils, simply sponge with ink, embellish with dimensional fabric paint and bling with gems and Shabby Chic trim!   It is that easy.  This would make a spectacular gift for Mother’s Day, as well as the perfect Scout, sleepover or birthday craft project. 

Here’s what you will need:

Linnie Blooms Canvas Bracelet
Linnie Blooms Bloom Stencil and Mask
Linnie Blooms Shabby Chic Trim (Green)

Clearsnap® Colorbox® Archival Dye Inkpads (Tree Frog, Coral)
Clearsnap® Color Blender

Beacon Adhesives Gem-tac® Permanent Adhesive

Dimensional fabric paint in colors of your choice
Multi-faceted faceted gems (or decorative beads) in colors, shapes and sizes of your choice

Here’s what you do:

  1. Using the Bloom Stencil and Color Blender, sponge Coral ink inside flower shape. Repeat this step three times along the bracelet edges, as shown. 

  2. Repeat Step 1 with Tree Frog ink until all edges have been filled in with shapes. Dry.  

  3. Using dimensional paint, draw green outlines around green leaf shapes and outline coral dots around coral flower shapes.  Dry completely.  
  4. Cut two 3” lengths green Shabby Chic trim and tie into small bows. Using Gem-tac® Permanent Adhesive, attach gems (or beads) and bows onto bracelet, as shown. Dry completely.  

    For more information about Linnie Blooms please visit www.linnieblooms.com

Monday, April 13, 2015

Painted & Glittered Canvas Feather Earrings

When I received my Linnie Blooms products in the mail and saw the Canvas Feathers, I just KNEW that I wanted to make a pair of Feather Earrings with them.

So, here they are - everything old is new again - trendy graphic Feather Earrings!


Here's What You Need:

Americana Paints by DecoArt - Purple Cow, Petal Pink, Fuchsia and Lavender
Paint Brus #2 Round; Palette; Water Basin; Paper Towels; Hole Punch 1/8"; Jump Rings (2); Earring Wires (2) and Needle Nose Pliers (2); Stickels glitter glue by Ranger in Purple and Star Dust.

Here's How I Made It:

1.) Draw in sections on each Canvas Feather with Tombow Dual Brush Pen.

2.) Paint sections of Canvas Feather using Americana Paints, let dry.  Base coat back of both Canvas Feathers with Purple Cow, let dry.  Apply small amounts of Stickles glitter glue  over dry paint and swipe off excess with finger, so just a bit of sparkle remains.

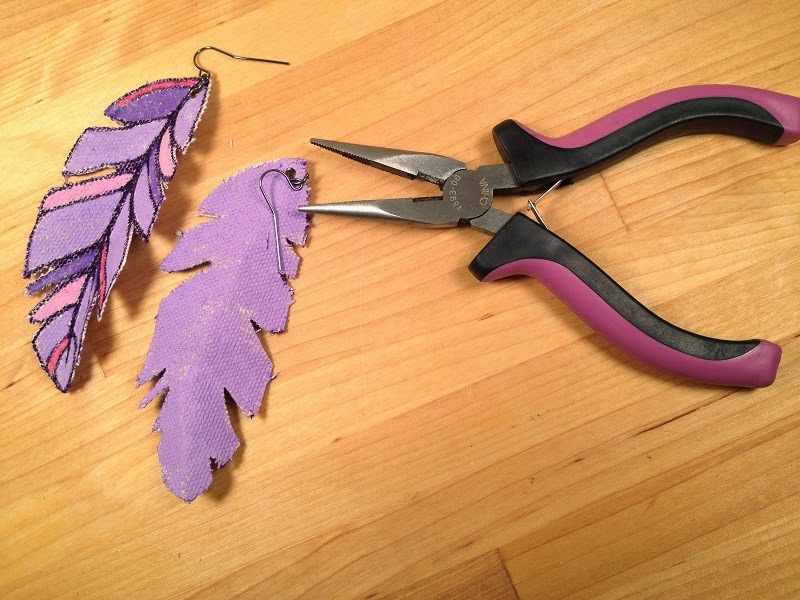
3.) Punch hole at top of each Canvas Feather. 

4.) Open Jump rings with two pairs of pliers.  Thread Canvas Feathers through jump rings, then thread on earring wires.  Close jump rings.

5.) Create your own color combinations - the possibilities are endless!  Wear with your favorite outfit OR give as a gift to your favorite teen or tween!

See more fashion inspiration on my Pinterest.

Thanks for stopping by!  -Beth

Weekly Scrapper Post

I'm interrupting our regularly scheduled design team posts to share a link you will not want to miss:


Click on the following link to check out their blog post today featuring Linnie Blooms!

http://scrapbookexpo.com/?p=57745

Sunday, April 12, 2015

Wishes for a Special Day

Hello, I am Ann from the Design Team here at Linnie Blooms and today I have this sweet Birthday card intended for a Special Lady.
It started out as a plain white card, then with some lovely stamps and stencils from the Linnie Blooms Collection along with Stampendous products and some colours from my kids art supplies, I made this:


First off I started with a blank card.  I traced inside the  "Angel" Stencil with some wooden colouring pencils.

Followed by stamping with clear embossing ink and the "Stitched Doodles" stamp from Linnie Blooms and covering with clear holographic embossing powder which was heat embossed.

Once cool I placed the stencil back over the card making sure to align the stencilled and embossed part, and then covered with a beautiful blue ink.  I let that dry.


I placed the mask of "Angel" over the coloured image and weighed it down with some spray bottle caps.  I sprayed some blues and greens from my kids old spray writer markers.  I let that dry.


I used a Stampendous sentiment stamp with some black ink and stamped the Birthday wishes sentiment.

I added drawn in details with pens and glued on some sequins.


Products used:

Linnie Blooms:  "Stitched Doodles" stamp
Linnie Blooms:  "Angel" Stencils/Mask
Stampendous:  "Birthday Wish"Clear Stamps
Ranger:  "Holographic" Embossing Powder
Ranger:  "Peacock Feathers" Distress Ink
Ranger:  "Jet Black" Archival Ink
Stampin' Up!: "VersaMark" Watermark Stamp Pad
Sakura:  Micron pens 05, #21, #36, and #117
MegaBrands:  "RoseArt- Blast Effects" Dual Action Spray Writers
Crayola: "Pink" colouring pencil
Laurentien: "Cream" Colouring pencil
Michaels:  "Recollections" Card
Multi-Crafts (Dollar Tree): sequins
Tombow: "Mono" adhesive

I hope I have inspired you to look at your supplies and how by using Linnie Blooms products you too can create your own little works of art.

Thank you for stopping by and please stop by my blog: AnnMakes (http://annmakes.blogspot.com)  to check out my other projects.

Tuesday, April 7, 2015

New Online Workshop


Today I'd like to share with you a new online class that I created for the Craft & Hobby Association's Online Workshop offerings.

This class uses my stitched Mini File Folder to create a "fun" little journal.  I have to warn you though...making these journals is addicting!  LOL!  In the class, I show you exactly how I create this little beauty, as well as share plenty of tips and tricks while working with canvas products and incorporating them into your scrapbooking, cardmaking and more!

If you are interested in the class, here's the link:  CHA Online Workshops

Creatively yours,

Linda

Sunday, April 5, 2015

Linnie Blooms Canvas butterfly cards

Hi, Mayoori here.

Today I am sharing my spring cards with you, made by using linnieblooms Canvas butterflies.


The process:
  1. gesso the butterfly
  2. once dried, put blob of paint close to each other.
  3. Fold the butterfly in half and spread the paint as to cove the whole butterfly.
  4. you will get beautiful pattern of color. Then stamp it and apply some shimmer on the edges .
  5. finally wrap the wire at the center giving nice pleats.
  6. your butterfly is ready


Thanks for stopping by. Please do leave your comments

http://butterfliesnbuttons.blogspot.com/