I LOVE inky techniques! And...I especially love to try inky techniques with Linnie Blooms' awesome pre-sewn canvas products!
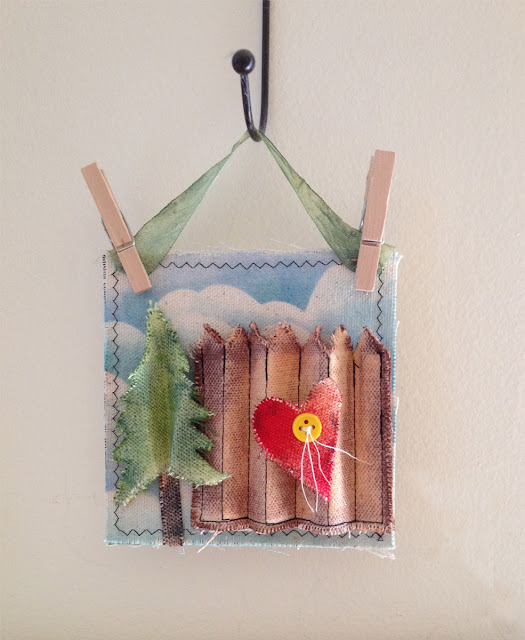
I was inspired by all the GREEN and SKY and foliage around my neighborhood and decided to create this cheerful little wall hanging, using the items below:
I just LOVE Linnie Blooms picket fence, tree, 5" x 5" blank square, heart, miniature clothespins and Shabby Trim!
...and that little yellow button added just the special touch of sunshine to the project!
In addition to these items, I also used these additional supplies:
Clearsnap, Inc: Archival Dye inkpads (Wicked Black, Mudslide, Glacier Lake, Moody Blue, Tree Frog, Grasshopper, Pinetree, Squash, Pumpkin Pie, Fireberry)
Clearsnap, Inc: Color Blenders
Beacon Adhesives: Fabri-tac Permenent Adhesive
Needle and thread
Scrap paper
Scissors
INSTRUCTIONS:
Begin with the background. Draw a scalloped edge on the scrap paper and cut out. to create a cloud stencil. Place the stencil just below the top edge and gently sponge both blue inks along the edge.
Move the stencil down and angle slightly. Sponge ink again along the edge.
Continue until the entire square is covered in clouds. Aren't they adorable?! This one of my favorite inky techniques...and now you know how easy it is to do!
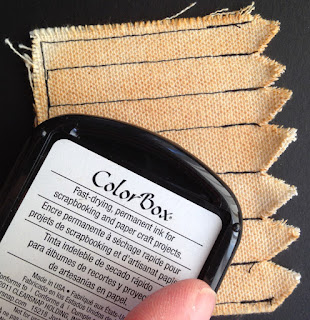
Next we will do the pieces. Using a technique called "direct-to-paper" (DTP), add Squash and Pumpkin Pie to the fence.
Cut out a small section in a paper scrap as shown below. This creates a "mask", which only exposes the area in which we want to add ink. The remaining areas remain covered.
Place over the fence and dab Mudslide along the edge. Move the paper as needed and continue for each fence post.
It should look like this when you are done. Pretty cool, eh?!
Tree and heart are next. Now that you are so skilled using a simple paper mask, sponge the tree trunk in Mudslide and then move the paper around and sponge the three greens on the leafy parts.
Simply add Fireberry to the heart using the DTP technique. (Look how many cool inky techniques you are learning!!)
When dry, sew the cute yellow button onto the heart.
And now to the cool assembly. I wanted to add a 3-D vibe to the hanging so I folded and pinched the tree and fence before gluing....just like this!
One more step... Use DTP along the edge of the Shabby Trim to add a little Pinetree grunge.
Now glue all the pieces onto the cloud background....clip the trim onto the hanging when dry!


