Showing posts with label Clearsnap. Show all posts

Friday, October 23, 2015

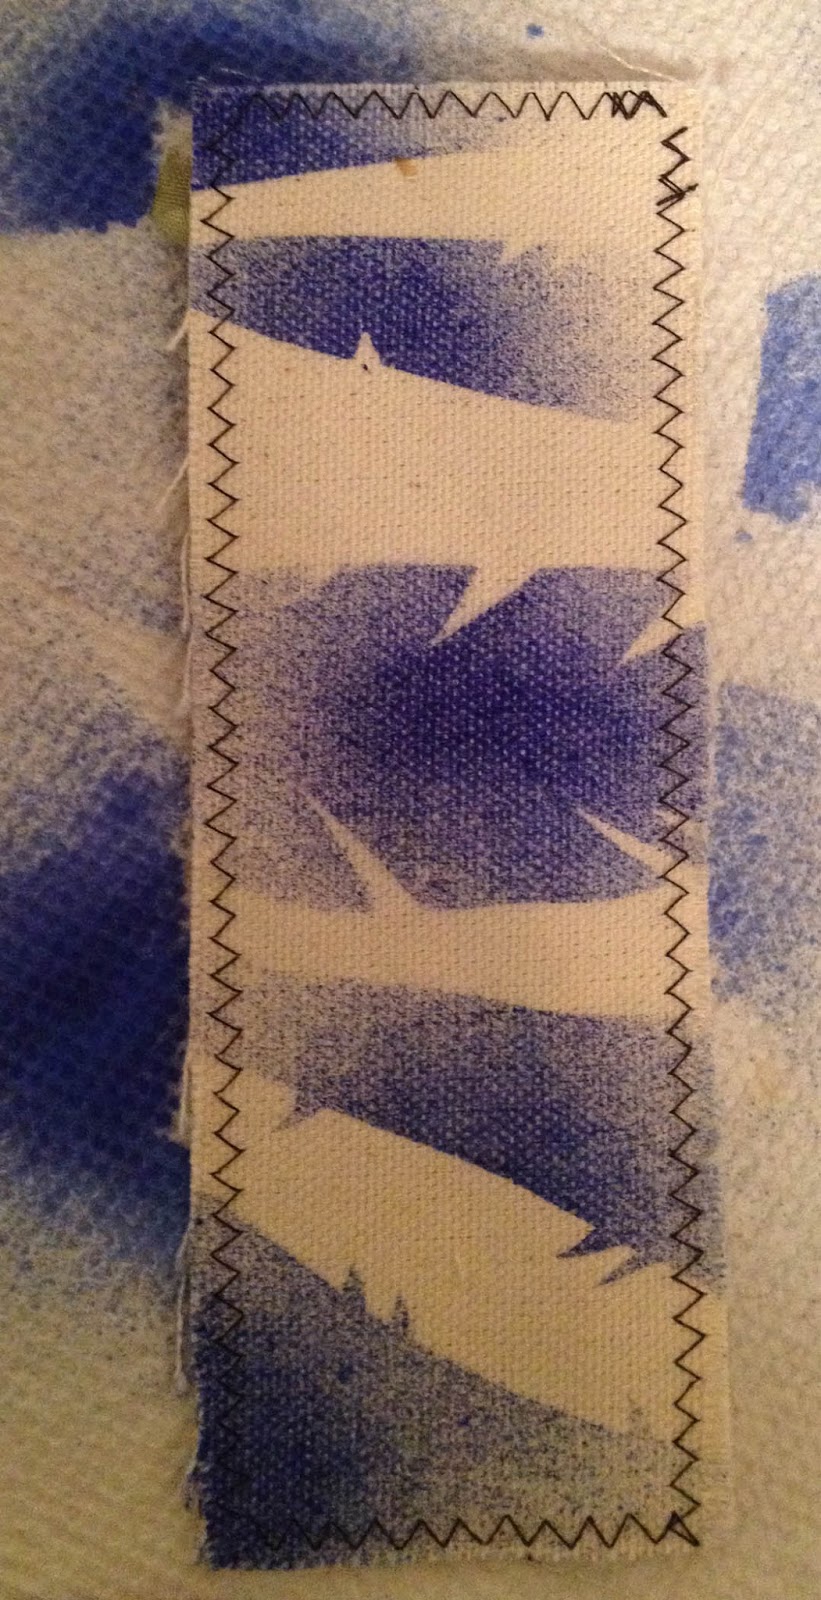
Falling Leaves Bookmark by Gail Green

Linnie Blooms products make the perfect canvas for any inspiration!

What better way to enjoy the crisp autumn air than taking some time for yourself to just…be!  This is the perfect time to take a walk and soak in all the colors of autumn and nature or just curl up with a hot cup of tea and a good book.  

Whatever you choose to during this changing season, make sure to include some creative time.  Only have a few minutes to create?  No problem!  This bookmark is so quick and easy to make, you will still have lots of time to take a walk AND read your book!


SUPPLIES:


Linnie Blooms Canvas Die Cut Leaves Set
Linnie Blooms Pre-Sewn Canvas Bookmark
Linnie Blooms Feathers Stencil and Mask Set
Clearsnap, Inc.: Colorbox Stephanie Barnard Sprays (Sky, Banana, Tangerine, Chocolate)
                          Archival Dye ink pads (Glacier Lake, Mudslide)
                          Art Dauber
ILoveToCreate: Tulip Fabric Marker (Black)
                          Aleene’s Tacky Glue
Optional: Can use cosmetic sponge instead of Art Dauber, if desired


INSTRUCTIONS:

  1. Position stencil and mask pieces widthwise across the bookmark. Spray Sky. Move stencil and mask pieces; blot off ink, as needed.
  2. Reposition stencil and masks, as desired.  Using direct-to-paper technique (DTP), apply Mermaid.  Remove stencil and mask pieces. Dry completely. Repeat steps 1 and 2 on reverse side of bookmark, as desired.
  3. Spray leaves using Banana and Tangerine.  Blot. Lightly spray chocolate in drops over small sections of the leaves. Repeat on reverse side of leaves.

  4. When completely dry, draw leaf veins with fabric marker.  Attach to bookmark with Tacky Glue.

Friday, September 11, 2015

Sunset in the Woods ATC by Gail Green


Use Linnie Blooms pre-sewn canvas ATC blanks to make individual ATCs or several for group challenges!


ATC cards are miniature masterpieces...but they don't have to take a ton of tine and talent!  You just need the right materials and techniques to create ATC projects that will impress even the most experienced crafter.   The secret weapon...Linnie Blooms pre-sewn canvas ATC blanks!

Let's begin....


Materials:


Linnie Blooms Sewed Canvas ATC Blank

Clearsnap: Colorbox® Archival® Dye Inkpad (Wicked Black)

Impression Obsession Rubber Stamps: F7787 Pine Trees

Beacon Adhesives: Gem-Tac® Permanent Adhesive

Acrylic Paint Glaze or Acrylic Paint with medium added
(Note: I used Plaid Decorator Glazes: Paprika, Sunflower, Aqua, New Leaf, Linen White)

Miscellaneous:  Printed text scrap (from old book, newspaper or other uncoated paper source)
                          Paint brush
                          Heat tool or hair dryer


Instructions:


1.  Prime the canvas with 2 coats of Linen White. Dry completely.


2. Squeeze a pea size each of Paprika and Sunflower.


    Spread each color with a wet paintbrush.


    Blend colors where they meet. Dry completely.


3.  Hand tear strips from the printed text scraps. Dab Aqua and New Leaf on the strips. Dry.  Attach to the ATC with Gem-Tac® Permanent Adhesive.


4.  Stamp Pine Trees onto ATC.  Dab ink around the edges.  Dry completely.


Try making a whole series of ATC cards using  a variety of stamp images and color combinations.  And...check out the entire range of Linnie Blooms products!


Monday, July 20, 2015

Sponged Nature Hanging


I LOVE inky techniques!  And...I especially love to try inky techniques with Linnie Blooms' awesome pre-sewn canvas products!

I was inspired by all the GREEN and SKY and foliage around my neighborhood and decided to create this cheerful little wall hanging, using the items below:


I just LOVE Linnie Blooms picket fence, tree, 5" x 5" blank square, heart, miniature clothespins and Shabby Trim!

...and that little yellow button added just the special touch of sunshine to the project!

In addition to these items, I also used these additional supplies:

Clearsnap, Inc: Archival Dye inkpads (Wicked Black, Mudslide, Glacier Lake, Moody Blue, Tree Frog, Grasshopper, Pinetree, Squash, Pumpkin Pie, Fireberry)
Clearsnap, Inc:  Color Blenders
Beacon Adhesives: Fabri-tac Permenent Adhesive
Needle and thread
Scrap paper
Scissors

INSTRUCTIONS:

Begin with the background.  Draw a scalloped edge on the scrap paper and cut out. to create a cloud stencil.  Place the stencil just below the top edge and gently sponge both blue inks along the edge.


Move the stencil down and angle slightly.  Sponge ink again along the edge.


Continue until the entire square is covered in clouds.  Aren't they adorable?! This one of my favorite inky techniques...and now you know how easy it is to do!


Next we will do the pieces. Using a technique called "direct-to-paper" (DTP), add  Squash and Pumpkin Pie to the fence.


Cut out  a small section in a paper scrap as shown below. This creates a "mask", which only exposes the area in which we want to add ink.  The remaining areas remain covered.


Place over the fence and dab Mudslide along the edge. Move the paper as needed and continue for each fence post.


It should look like this when you are done. Pretty cool, eh?!


Tree and heart are next.  Now that you are so skilled using a simple paper mask, sponge the tree trunk in Mudslide and then move the paper around and sponge the three greens on the leafy parts.


Simply add Fireberry to the heart using the DTP technique.  (Look how many cool inky techniques you are learning!!)

When dry, sew  the cute yellow button onto the heart.


And now to the cool assembly.  I wanted to add a 3-D vibe to the hanging so I folded and pinched the tree and fence before gluing....just like this!


One more step... Use DTP along the edge of the Shabby Trim to add a little Pinetree grunge.


Now glue all the pieces onto the cloud background....clip the trim onto the hanging when dry!