Showing posts with label leaves. Show all posts

Friday, October 23, 2015

Falling Leaves Bookmark by Gail Green

Linnie Blooms products make the perfect canvas for any inspiration!

What better way to enjoy the crisp autumn air than taking some time for yourself to just…be!  This is the perfect time to take a walk and soak in all the colors of autumn and nature or just curl up with a hot cup of tea and a good book.  

Whatever you choose to during this changing season, make sure to include some creative time.  Only have a few minutes to create?  No problem!  This bookmark is so quick and easy to make, you will still have lots of time to take a walk AND read your book!


SUPPLIES:


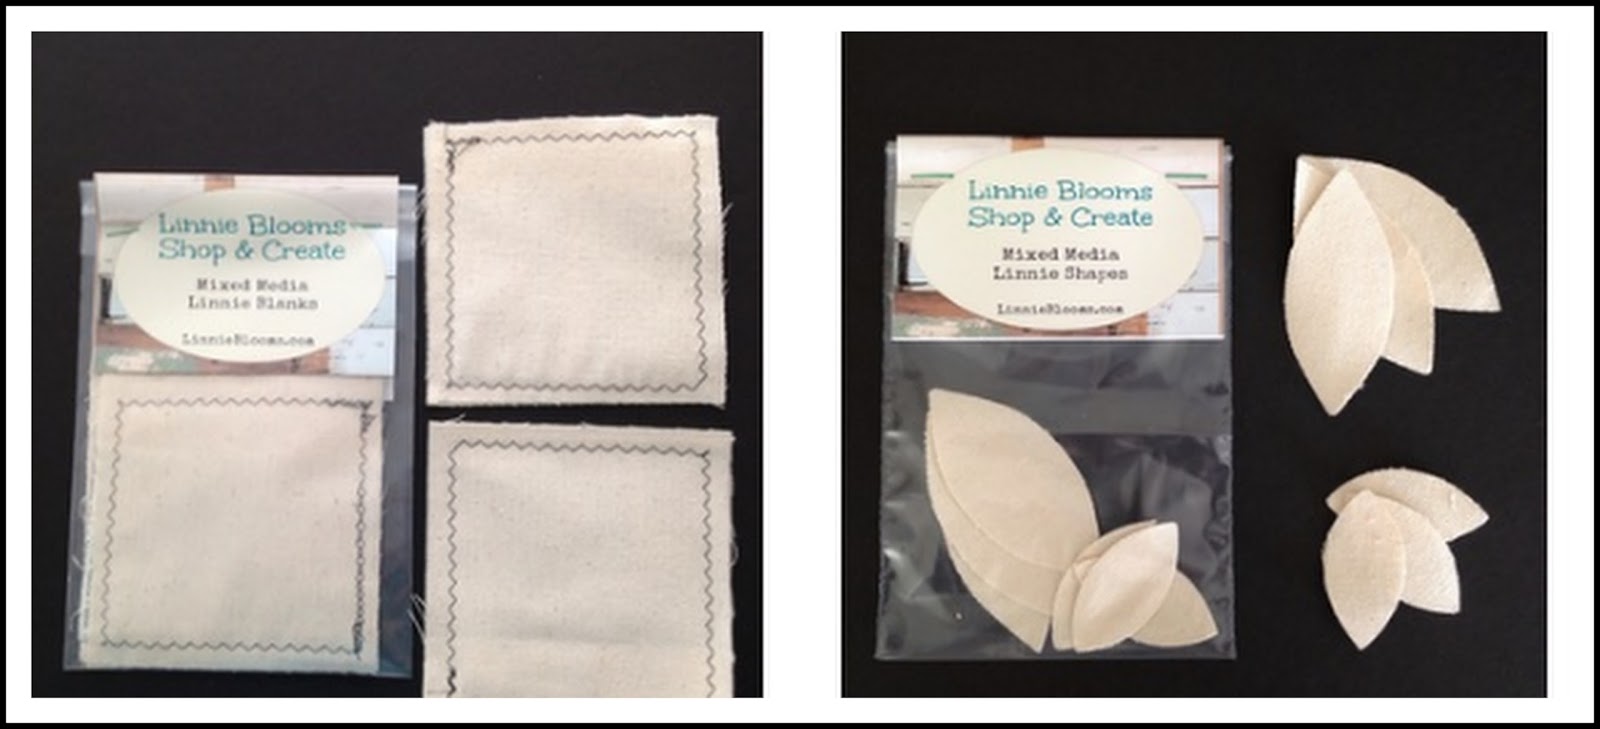
Linnie Blooms Canvas Die Cut Leaves Set
Linnie Blooms Pre-Sewn Canvas Bookmark
Linnie Blooms Feathers Stencil and Mask Set
Clearsnap, Inc.: Colorbox Stephanie Barnard Sprays (Sky, Banana, Tangerine, Chocolate)
                          Archival Dye ink pads (Glacier Lake, Mudslide)
                          Art Dauber
ILoveToCreate: Tulip Fabric Marker (Black)
                          Aleene’s Tacky Glue
Optional: Can use cosmetic sponge instead of Art Dauber, if desired


INSTRUCTIONS:

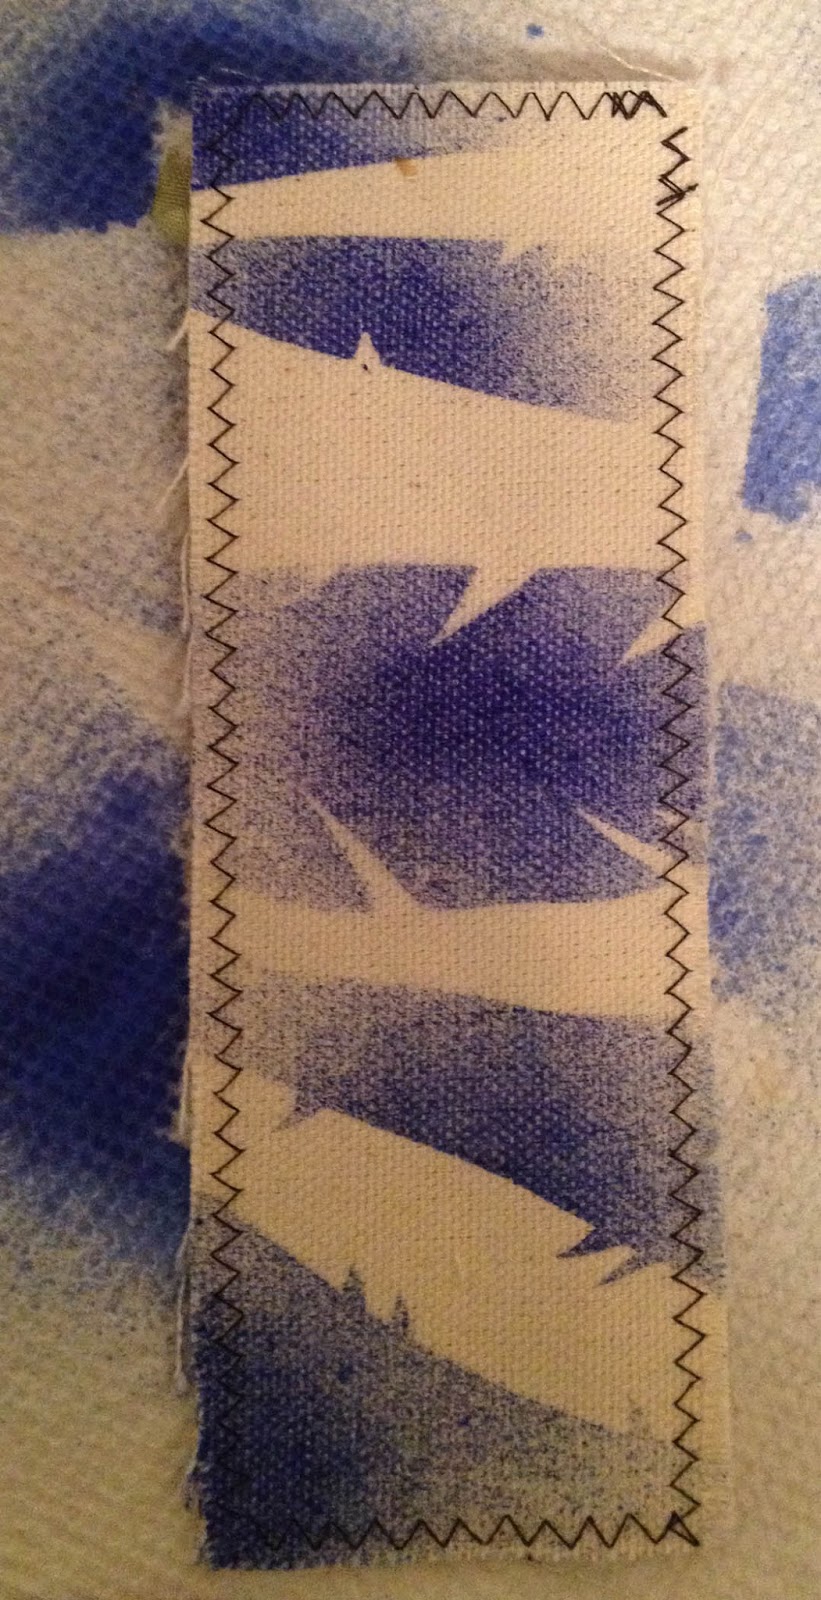
  1. Position stencil and mask pieces widthwise across the bookmark. Spray Sky. Move stencil and mask pieces; blot off ink, as needed.
  2. Reposition stencil and masks, as desired.  Using direct-to-paper technique (DTP), apply Mermaid.  Remove stencil and mask pieces. Dry completely. Repeat steps 1 and 2 on reverse side of bookmark, as desired.
  3. Spray leaves using Banana and Tangerine.  Blot. Lightly spray chocolate in drops over small sections of the leaves. Repeat on reverse side of leaves.

  4. When completely dry, draw leaf veins with fabric marker.  Attach to bookmark with Tacky Glue.

Thursday, March 20, 2014

Gold and Glitter

You know those days you feel like you are like a grey mouse wandering around in the city? We all have them, and I took a photo of myself one of those days. I mean, scrapbooking is about documenting life, and life ain´t bright and sunny everyday...

To spruce up the "sad" picture I have used a lot of golds and sparkly bits.


I have used a mini file folder as my backdrop for the picture. I used different stamps to achieve some and dept to it.


I built up my page on top of the file folder with different cards, tags, tread and a piece of a brown bag. Then I added a lot of flowers and the gorgeous Linnie Blooms Canvas leaves.


The leaves where covered in varnish and two different Mesospheres from Ayeeda (13@arts). The papers, cards and tags are from 7 Dots Studio. I have also used Heidi Swapp color shine (gold).

Hope you enjoyed my romantic page!

Marie

Sunday, December 22, 2013

Playing with Canvas Pieces by Rochelle :)

Hello Crafters! It’s Rochelle today to share with you my projects that I created using Linnie Bloom’s Canvas Pieces.

For my first project I used Linnie Bloom’s Canvas Long Blank, Sunflowers, and Leaves. 
I started by covering the Long Blank with Tattered Angels mist and Dylusions Ink Spray and set aside to dry.  I then started to work on the Sunflowers
 I used Tattered Angels mist first to color the Sunflowers.  Once it dried I stamped a small patterned onto the lighter color Sunflower.  I then layered the Sunflowers with tule and topped it with a canvas sun shape from Studio Calico and a rhinestone from Queen & Co.  I didn’t do much with the leaves other then mixed the greens with Tattered Angels and a Gelato.

I finished my Long Blank by adding half of a doily, some tule, a paper doll I made with the Prima Paper Doll stamp, a tag that I stamped with a quote and stitching and added my title with Thickers.

My second project I wanted to share with you today is Canvas Flourish Pocket and a Canvas Owl from Linnie Blooms.  
I wasn’t sure what I wanted to do with this pocket, but I definitely knew I was going to give it away as a present.  It’s perfect for adding a gift card or money into the pocket along with a tag.  

For the pocket, I started with coloring the pocket with a blue Gelato, then stamped it with hearts.  
For the the Canvas Owl, I stamped it and lightly inked the edges.  Then I added cardstock for the wings and Queen & Co. Rhinestones for the eyes. 
I always have so much fun creating with Linnie Blooms Canvas pieces! I hope these projects have inspired you to give it a try!  You can check out Linnie Blooms store HERE.

Thank you for stopping by Linnie Blooms Blog today! :) 


~ Rochelle 

Wednesday, November 6, 2013

Leaves you DON'T have to rake!


It's time to stop and smell the leaves.
It's also time to stop and shovel the leaves. So many have fallen in the last few days, that I can't even see my driveway. I'm not complaining, because I would much rather shovel leaves than snow. That white stuff will be here soon enough.


Today, I'm bringing the leaves indoors too. I'm adding another season to my Four Seasons project with the Linnie Blooms canvas long blanks. Linda has been adding new shapes, and these Linnie Blooms leaves absorbed the color from Distress Inks and Distress Stains so vividly. I stamped a subtle swirl pattern on top too. I used hot glue to attach my leaves to the wire stem and canvas long blank so that I could "sculpt" some shape into the leaves. Using a hot glue allowed me to push, raise, and wrinkle the leaves to give them even more texture and dimension.


With mason jars a hot trend right now, I traced one onto vellum paper from clip art I found online. Once again, I painted a chevron background by taping off the pattern with Scotch blue painter's tape (my new love). There is also some twine and wire in there too.
I didn't want to overwhelm this canvas...sometimes it's hard for me to tell myself to "STOP ADDING MORE ITEMS". But, I'm happy where I stopped with this one.
Autumn is a second spring,
and I am taking time to recognize each leaf as a flower.


Pin It

**Remember... I have a SUPER discount code for you. If you want to place an order at Linnie Blooms online store, you can shop here... http://lindabarutha.com/shop/. Use the code LB2013KS and you will get 10% off your order. Enjoy!

Saturday, November 2, 2013

Introducing our new Trees & Leaves

What a perfect time to start seeing the leaves on the trees change and fall.   At the same time you may start to see those Christmas trees set up in the front windows of homes.  

So why not introduce our Trees & Leaves.  Here are just a few samples of the new Mixed Media Canvas Shapes we plan to show you through out the next two months. 


Fall Leaves

Leaves

Evergreen Trees

Tree

Created By Linda Barutha, Trees & Leaves

Created by Linda Barutha  Trees
https://www.facebook.com/pages/3-Girl-JAM/129045323859706
Created By Julie Bling

Created by Pinky Hobbs
 
Through out all of next week each day we will be showing you new projects using our Leaves & Trees.   You are welcome to play along with us by sharing your projects on our Face book Linnie Blooms page.   Do you want some trees and leaves?  You can order from our shop right here at Linnie Blooms..

Have a great weekend,  Kimberly (Scrap It Girl)

Friday, September 6, 2013

Friends, flowers, and a canvas blank

I'm continuing my love affair with Linnie Blooms canvas shapes, and this time I am playing with a "long canvas blank". It is a layer of cotton batting between a blank cotton canvas and a printed cotton layer on the back, size 12"x5".

Just like the other smaller Linnie Blooms shapes that I've played with before, I love the way this texture absorbs any medium I throw at it. Today---acrylic paint! I used some Scotch blue painters tape and created a chevron pattern. I did not measure---just laid down the tape in what looked like straight chevrons to my eyes. I like the way it looked when I aligned them off center. Make sure you push down hard to adhere the tape to the blank so that you don't get any seepage.

I spread the acrylic paint directly on the canvas with a foam brush using a light gray and canary yellow. As you can see, there is no need to be neat about it!
I ripped the tape off (I didn't even wait for the paint to dry) to see how it turned out and was so impressed that the lines were so sharp.

To create the jar, I traced a clip art jar shape onto some velum paper and cut it out. I inked the edges and then highlighted the thread and reflection lines with some Rock Candy Stickles. I attached the jar to the canvas by sewing on a few stitches (can't have any adhesive showing)! It's difficult to see in the photo but there are wire stems wrapped with twine that I hot glued to the back of the felt flowers--they run down into the jar so the flowers don't look like they are just free-floating.
Yes, those are Linnie Blooms leaf shapes in between my felt flowers (a Sizzix die). I swiped some Distress Stain on those leaves to add a splash of color. Then, I plucked some random buttons from my stash and slid a few seed beads onto the threads as I attached the felt flowers to the canvas.
Lastly, I printed the sentiment on some cute pink/khaki gingham paper. I dried the ink with a heat gun to make sure it was really dry before painting a layer of Modge Podge over it to add some texture.
I loved this project SO much, that I've decided that this was the first in a series of seasonal blanks. Coming soon---fall! I better hurry, it's already September!

~Kelly


Pin It


Friday, August 30, 2013

Canvas Blank By Rochelle S.


Hello!!!  Today I'll be sharing with you another fun project with  Linnie Blooms Canvas Shapes!!!

For this project, I used Linnie Blooms Canvas Blanks and Leaves:


I love how the chevrons on the Canvas Blank came out!  I used Mr. Huey's spray with Heidi Swapp stencil.  The color on the canvas with the stitching works so well together.

I used 3 of the Linnie Blooms Canvas large Leaves to create the flower.  I used Tattered Angels Glam and Glaze to color the leaves. Here's a close up:


What I love about Linnie Blooms Canvas Blanks is that you can create right on the canvas blank and then add the blank to a variety of projects.  I can add this blank to an album cover, to a larger canvas board,  put it in a shadow box, add it to a scrapbook page, a card or just leave it as is. :)

You can find these blanks and more canvas pieces at Linnie Blooms

Thank you for stopping by!

~Rochelle Spears 

Monday, August 26, 2013

Moleskine cover with Linnie Blooms shapes

Hi , It's Sandra again, I came back with another project for Linnie Blooms: a Moleskine's cover made on canvas: 


I prepared the base with stencil and Dylusions then I applied Linnie Blooms canvas shapes: Canvas Sunflower e Canvas Leaves


while for the banner I used small piece rectangular of canvas


...at the end I stamped on vellum two stamps made by L'Encre et l'Image...

I hope you like it

...Sandra...

Saturday, August 17, 2013

Video Designer - Shanna Shands

I have a new project to share with you today!

Make sure you stop by the Linnie Blooms Blog and Facebook Page and follow Linnie Blooms on both pages. Also this month we are having a little game!!!


So make sure you stop by constantly and play!

So today I am sharing an art journal page that I made for you and you can see how I made it here!


I hope you enjoy my madness!


Here are some close ups of the the different layers!!!


Items Used:
Linnie Blooms - Canvas Birds and Canvas leaves
Sin City Stamps - Steampunk Circus
Prima Chalk - Dusty Attic
Prima Stamps
Prima Stencils
Distress Paints
Dylusions
Lindy's Stamp Gang
Modeling Paste
Gesso
Archival Ink


-- 
Shanna Shands


Tuesday, August 6, 2013

Meet the Designers - Karen Crossen

I am thrilled to be a guest designer for Linnie Blooms!! I am a full time mom, chauffeur, referee and short order cook for my 3 busy girls and my wonderful husband!  We live just outside of Atlanta and love it down here in the south!
I like to garden, play tennis and ice skate but . . . I LOVE mixed media art!! I never thought that I could be any good at art, because in school, I was never good in traditional art class. If somebody had just told me there was more to art than straight lines and realistic looking drawing, I might have done much better!! Now there isn't a day that I don't have paint or glue on my fingers and I have found my passion! So now I always tell people to jump in, put your fingers in the paint and play because you never know what might happen!