Showing posts with label fall. Show all posts

Friday, October 23, 2015

Falling Leaves Bookmark by Gail Green

Linnie Blooms products make the perfect canvas for any inspiration!

What better way to enjoy the crisp autumn air than taking some time for yourself to just…be!  This is the perfect time to take a walk and soak in all the colors of autumn and nature or just curl up with a hot cup of tea and a good book.  

Whatever you choose to during this changing season, make sure to include some creative time.  Only have a few minutes to create?  No problem!  This bookmark is so quick and easy to make, you will still have lots of time to take a walk AND read your book!


SUPPLIES:


Linnie Blooms Canvas Die Cut Leaves Set
Linnie Blooms Pre-Sewn Canvas Bookmark
Linnie Blooms Feathers Stencil and Mask Set
Clearsnap, Inc.: Colorbox Stephanie Barnard Sprays (Sky, Banana, Tangerine, Chocolate)
                          Archival Dye ink pads (Glacier Lake, Mudslide)
                          Art Dauber
ILoveToCreate: Tulip Fabric Marker (Black)
                          Aleene’s Tacky Glue
Optional: Can use cosmetic sponge instead of Art Dauber, if desired


INSTRUCTIONS:

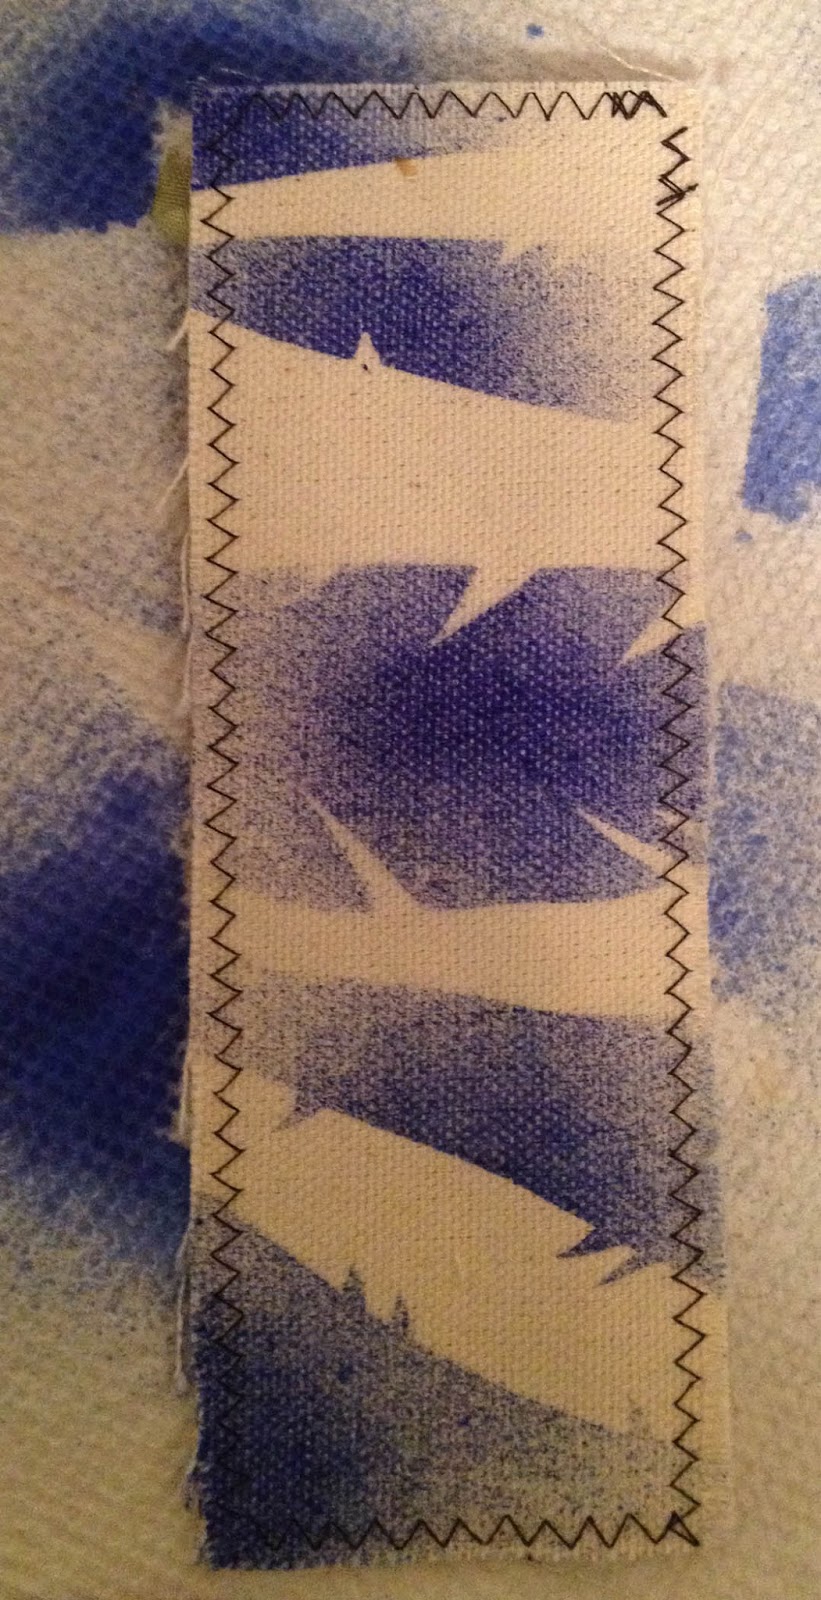
  1. Position stencil and mask pieces widthwise across the bookmark. Spray Sky. Move stencil and mask pieces; blot off ink, as needed.
  2. Reposition stencil and masks, as desired.  Using direct-to-paper technique (DTP), apply Mermaid.  Remove stencil and mask pieces. Dry completely. Repeat steps 1 and 2 on reverse side of bookmark, as desired.
  3. Spray leaves using Banana and Tangerine.  Blot. Lightly spray chocolate in drops over small sections of the leaves. Repeat on reverse side of leaves.

  4. When completely dry, draw leaf veins with fabric marker.  Attach to bookmark with Tacky Glue.

Wednesday, October 14, 2015

Altered Wooden Clothes Pins

I saw these cute little canvas leaves and was inspired to make some autumnal themed clothes pins. These autumnal clothes pins can be used for various decorative purposes. They can be clipped on lampshades / drapes for a fun home decor accent or used as a table decoration as a place setting name card holder for your guests. If a magnet is attached to the back, they can be decorative and functional.

Here's a step by step of how I did it.


Directions:
1. Prepare to Paint:
Protect your work surface & wear gloves. Place the canvas leaves on your craft matte or newspaper. Mist the leaves with 3-4 autumnal colors. With your finger, blend the colors together so they absorb into the weave of the fabric. I worked with all paint colors simultaneously. Remember to color the back side of each leaf as well. Set aside to dry.

2. Color Clothes Pins: Attach washi tape to both sides of each wooden clothes pin. Carefully trim away excess tape with scissors and firmly press all edges securely.
 3. Assemble Bows: Cut a strip of fabric about 1.25in x 4inches in length. Find the center of the fabric strip. Pinch and twist one side of the fabric to the back and use a piece of wire to cinch the center of the bow twisting the wire to secure it. Trim the ends of the fabric if needed. Tie a small bow using jute or baker's twine.

4. Detail the Leaves: When the leaves are thoroughly dry, take each leaf and fold it in half to the stem pressing firmly with your fingers. The stiffened canvas will hold the gentle crease and the fold will appear to be the vein of the leaf giving it a more realistic appearance.

5. Embellish Clothes Pins: Use a hot glue gun to attach the fabric bow to the end of the wooden clothes pin. Next, glue a leaf in the center of the fabric bow. Finally, glue a twine bow on the leaf and embellish it with a button.
Linnie Blooms Supplies: canvas leaves, wooden clothes pins
Other Supplies: Moon Glow's Glimmer Spray, twine, buttons, washi tape, fabric, wire, glue gun
              Browse the Linnie Blooms Shop: HERE
A Closer Look:


TIP: Since I have accumulated many sprays and mists, I make a sample card for each color by spraying a mini tag and attaching it to a jump ring. Then, I can refer to the tags to help me quickly select the right colors for my project. To help me find the bottle on the shelf, I write the brand & color on the back of the tag. 
    Visit Art & Soul to see more of Karen's brilliant projects.

Wednesday, November 6, 2013

Leaves you DON'T have to rake!


It's time to stop and smell the leaves.
It's also time to stop and shovel the leaves. So many have fallen in the last few days, that I can't even see my driveway. I'm not complaining, because I would much rather shovel leaves than snow. That white stuff will be here soon enough.


Today, I'm bringing the leaves indoors too. I'm adding another season to my Four Seasons project with the Linnie Blooms canvas long blanks. Linda has been adding new shapes, and these Linnie Blooms leaves absorbed the color from Distress Inks and Distress Stains so vividly. I stamped a subtle swirl pattern on top too. I used hot glue to attach my leaves to the wire stem and canvas long blank so that I could "sculpt" some shape into the leaves. Using a hot glue allowed me to push, raise, and wrinkle the leaves to give them even more texture and dimension.


With mason jars a hot trend right now, I traced one onto vellum paper from clip art I found online. Once again, I painted a chevron background by taping off the pattern with Scotch blue painter's tape (my new love). There is also some twine and wire in there too.
I didn't want to overwhelm this canvas...sometimes it's hard for me to tell myself to "STOP ADDING MORE ITEMS". But, I'm happy where I stopped with this one.
Autumn is a second spring,
and I am taking time to recognize each leaf as a flower.


Pin It

**Remember... I have a SUPER discount code for you. If you want to place an order at Linnie Blooms online store, you can shop here... http://lindabarutha.com/shop/. Use the code LB2013KS and you will get 10% off your order. Enjoy!

Thursday, October 3, 2013

A colorful season


It is October! I seem to have a minor "freak out" with each month that passes. How can another month go by so quickly! October is a month to cherish though. It is nature at its best and brightest. So, why not replicate it? I'm playing with Linnie Blooms canvas shapes again, and this tree is a new one in the store. I was at the "real" Linnie Blooms store last weekend and got a chance to experiment a bit. Both Linda and I loved the look of stamping chevrons on the canvas shapes, so I decided to ink chevrons to the trunk while loading up the tree with colorful buttons.

Have you been keeping up with all of the new shapes that Linda has added to the Linnie Blooms online store? Owls, leaves, and trees are perfect for your fall projects while the circles, stars, and hearts are perfect for anytime! What is your WIP (work in progress)?


My WIP is trying to find some time to enjoy the natural colorful wonders right outside my window.
What a wonderful world indeed!


~Kelly