Monday, July 14, 2014

Back to school teacher treat!

Hello everyone! Jessica LiBasci here from Scatter Joy with Jessann! Hope everyone is enjoying their summer. As we journey through summer, we journey toward the start of a new school year. It is important to start the year off right! Teachers often have special ways of welcoming our children, it is time for us make them feel appreciated too! This design is intended to inspire you and your child in creating something special for their new teacher. Linnie Blooms has a ton of wonderful supplies for you to create your teacher treat!

For this one you only need a few supplies!
Linnie Blooms Nature Canvas Dies (tree)
Chocolate gelato
Green Tea gelato
Linnie blooms shabby trim (I used ribbon from my staff but I love the shabby trim much more!)
Any style green paper, blue paper and tan paper
Small red buttons
Black sharpie
Card board
Hole punch
Adhesive

I began my project by cutting, what would soon be the green top of of the tree away from the trunk.


Once cut, I used the green tea gelato to color the top of my tree and the chocolate gelato for the trunk.

While the canvas was drying I cut and adhered my paper to the cardboard. I used a blue patterned paper for the sky and a green patterned paper for the grass. Once the canvas was dry I glued it on. Then I glued on my buttons and tied on my ribbon!

To finish my project I used a black sharpie to create a dashed line/stitching effect. 
You can create any banner and wording you choose.


Saturday, July 12, 2014

Pillowcase

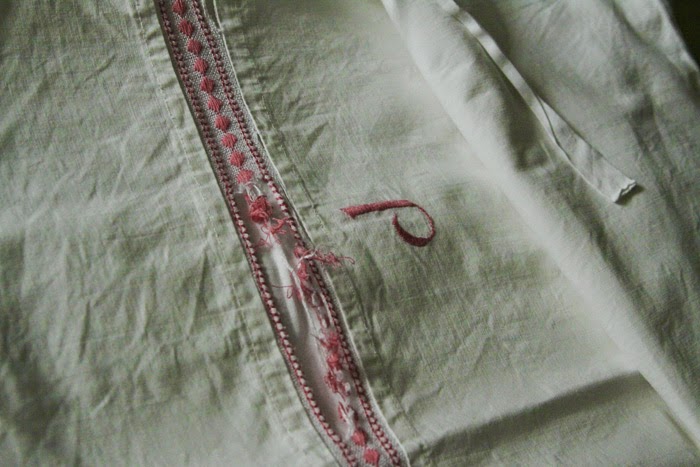
When  got my new Linnie Blooms stencils I got the idea to use them for a home decoration project. I had a old vintage pillow case lying around that was in a bit of bad shape. But since it was a heritage piece I didn´t want to trow it away. So I came up with the idea of using the stencils to create a embroidery pattern.


 I used the stencil to create my tree and then the fish/owl to sit underneath it. As you can see I have extended the branch so that it forms the base of the tree instead.

And here is my finished result.


As you can see on the closeup below I have made the owl by applying a felt owl.


Hope you get some new ideas on how to use the stencils/masks.

♥
Marie

Friday, July 11, 2014

Guardian Angels

Well, this week finds me on a road trip. I brought a small pack of supplies as well as all my Linnie Bloom's pieces. Tonights stop was at my mother's home. she is an expert quilter. She has been playing we me and we are having a great time creating. Since you can never have to many Guardian Angels. Tonight we have added another to my list. Something for me to take and stay safe as I drive for the next 4 weeks. (Los Angeles to Anchorage Alaska & back) It is just me and my little dog. Now to include this beautiful quilted Angel.


Thanks mom for the help sewing this lovely little angel. Happy creating!


Luggage tag table decoration

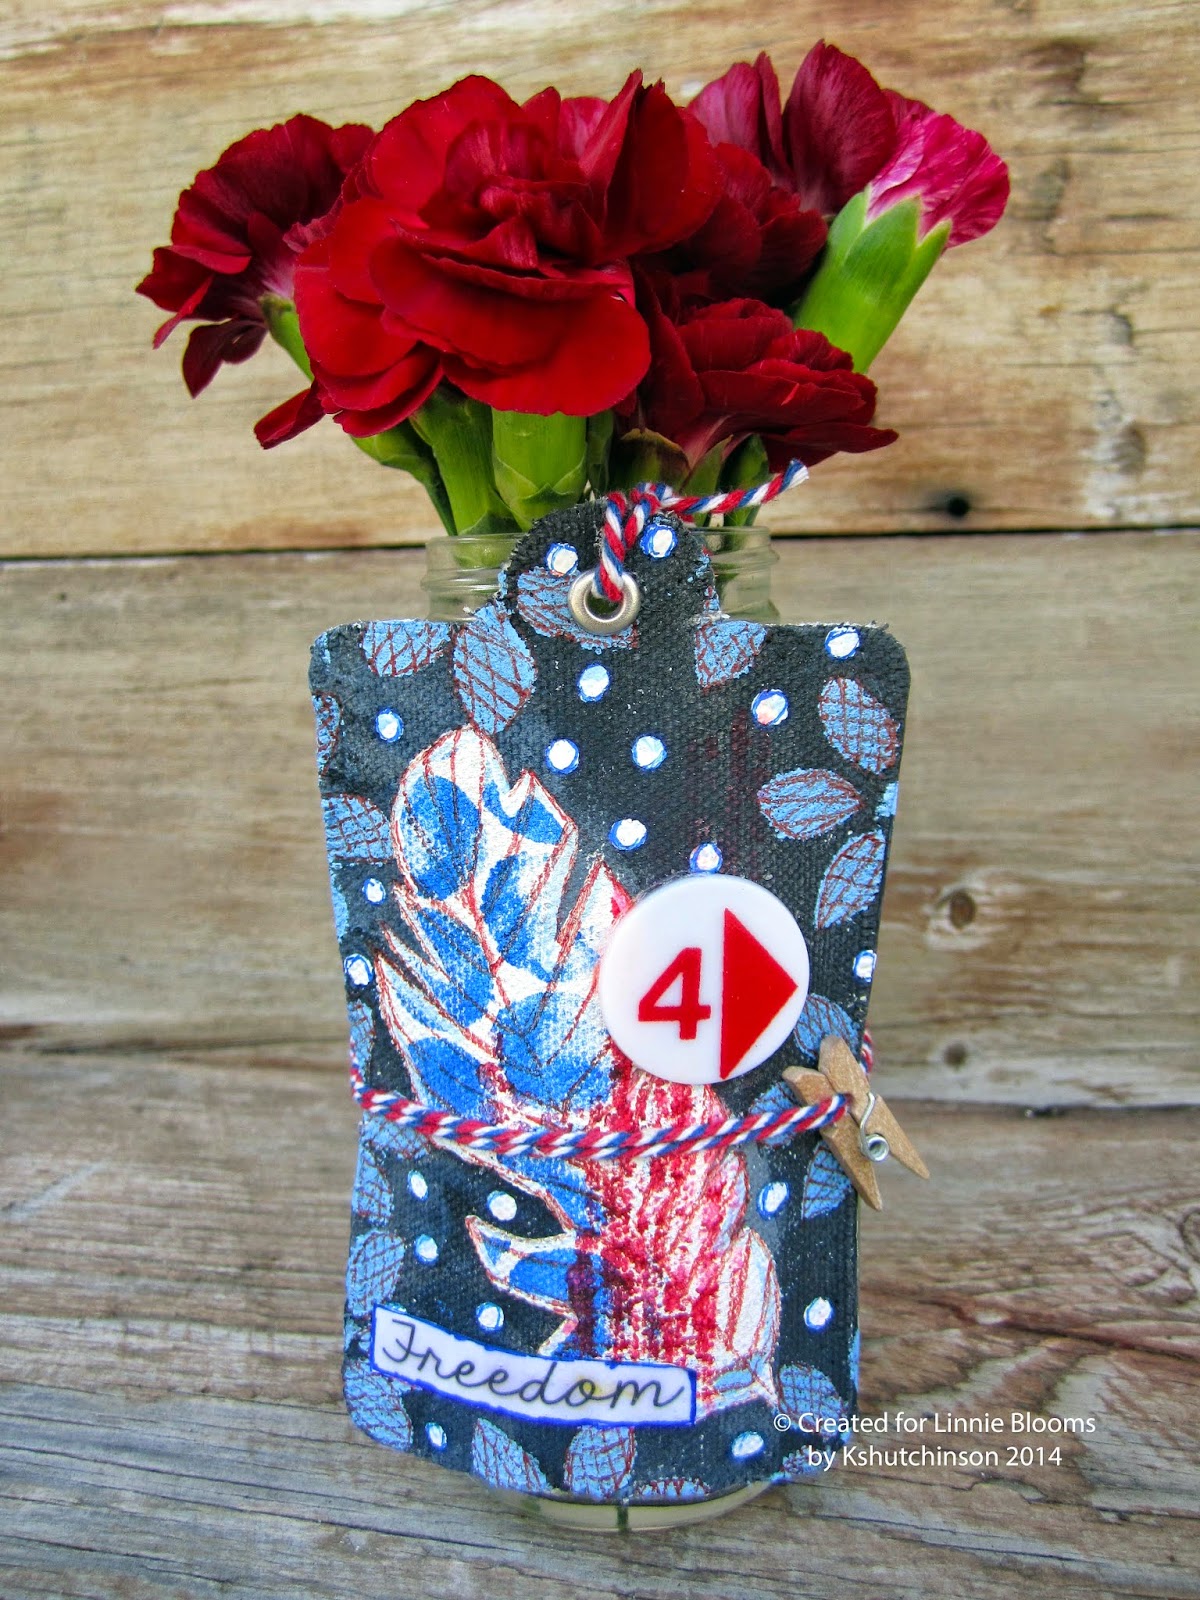
Each month the Design Team is given a challenge. This month is patriotism Incorporate your country's colors in your design. My grandfather was a WWII Vet, so the american flag means a lot to me! Using the Luggage Tag, Feather Stencil and Mask, and the Flutter Stencil and Mask.   I made a cute little table decoration for all our Holiday celebrations!


I just wrapped the Luggage tag around an old bottle and put some flowers in it! Just perfect for the dining room table or anywhere else! I think it would be a super sweet hostess gift too! 

Hope you enjoyed my take on the challenge!

See you all soon,
K

Thursday, July 10, 2014

Stenciled T-Shirts

Good Thursday Morning everyone-

Today, I am here to show you something super, fun, easy and cheap to do with your stencils...makes a great gift too. Do, I have your attention now????? Good! Let's get this show on the road then.

Stenciling on t-shirts is what I am talking about......

Supplies-
plain t-shirt (I picked mine up at the local thrift store)
acrylic paint
paint brush
tape
sponges ( I used the cheap triangle cosmetic ones from the dollar store)
Linnie Blooms Feather Stencil and Mask
Sharpies
cereal box or piece of cardboard


1. Place cereal box/card board inside the shirt
2. Splatter paint in three colors to one side (let dry)
3. Tape stencil to the area you want to stencil
4. Using acrylic paints and sponge to color in your stencil (let dry)
5. Use sharpies to color and add details to your stenciled design (you could also just paint the design with more acrylics)
6. Then iron to heat set
7. wear


Super duper fun and easy! Not to mention CUTE!!!!!


If you make any shirts, I would love to see. Actually you could do this on a skirt! How cute would that be? Lots of possibilities! 

Until next my friends....
Hugs,
K

Wednesday, July 9, 2014

Nature~Share The Beauty

Hi Friends! Abby here with ScrappinAbby and today I have a quick tag project to share with all of you using one of the fabulous feather canvas pieces from Linnie Blooms.
I wanted to add some texture to the canvas feather so I grabbed some Matte Medium and an old dress pattern...
I put a thin coat of the Matte Medium over the canvas feather...

To give it some added texture I scrunched the dress pattern paper when I placed it on top of the feather...
I used my craft knife to cut the paper away from the feather. You can use scissors or even tear it if you wish....
I used my distress tool to add some extra fraying and texture to the edge of the feather...

I wanted to play with some of my alcohol inks and sprays so the next few photos show you how I "painted" my feather once the dress pattern paper was dry....

The last photo above was taken while the feather was drying. I love how it turned out once it was all dry. The inks and sprays crept into the wrinkles on the dress pattern and soaked into the canvas feather and it looks so cool. 
This was my first time to play with the canvas feathers and I'm hooked. There are so many ways you can alter the canvas pieces and this is just one example of how you can use your inks and sprays and even some dress patterns to create textures and layers. You can find the feather canvas pieces in the Flutter Canvas Shapes at the Linnie Blooms store.

Thanks for stopping by the Linnie Blooms blog today and for checking out another ScrappinAbby project. 

Have a great day and Happy Crafting!!


Linnie Blooms Canvas used with a cut file


Hi Bev here today... I am excited to be sharing a
multi tasking project with the amazing Linnie Blooms products 
and using A Cutt Above The Rest cut file.

Supply List:
Paper: Simple Stories Hello Baby (from the Linnie Blooms June Kit club)
Cardstock: misc
Cut File: ACuttAboveTheRest
Canvas: Linnie Bloom

Dew Drops: Robin's Nest

Ohter: paint, flowers, stitching, brads


Starting with a painted cardstock base... I cut this amazing new cut file from A Cutt Above, then
added Simple Stories Hello Baby paper behind the grids spaced out.


This fabulous canvas accent is from Linnie Blooms collections..
 be sure to check them all out. I added a ripped paper with inked edges and fussy cut the image 
and  adhered it using some fun brads.


Here are few more close ups to detail some fun accents.


Floral clusters with Robin's Nest dew drops added.


Added a fussy cut border, cute camera accent and so very sweet journal words all with inked edges.

Also note the fun cross corner stitching.... thanks for stopping by today.. see you again soon.